This article series describes the configuration of automation using the example of a garden railway.
In the second part, we deal with train protection using stop balises in front of buffers.
Train Protection: Balises in front of Buffers
First, we take care of the balises in front of buffers. They ensure that our locomotives always come to a stop in time before the buffer. We must of course consider how far the NFC reader in each locomotive is from the front or rear of the locomotive, and that a locomotive, even during an emergency stop, does not necessarily come to an immediate halt.
Create Stop Sign (Sh2)
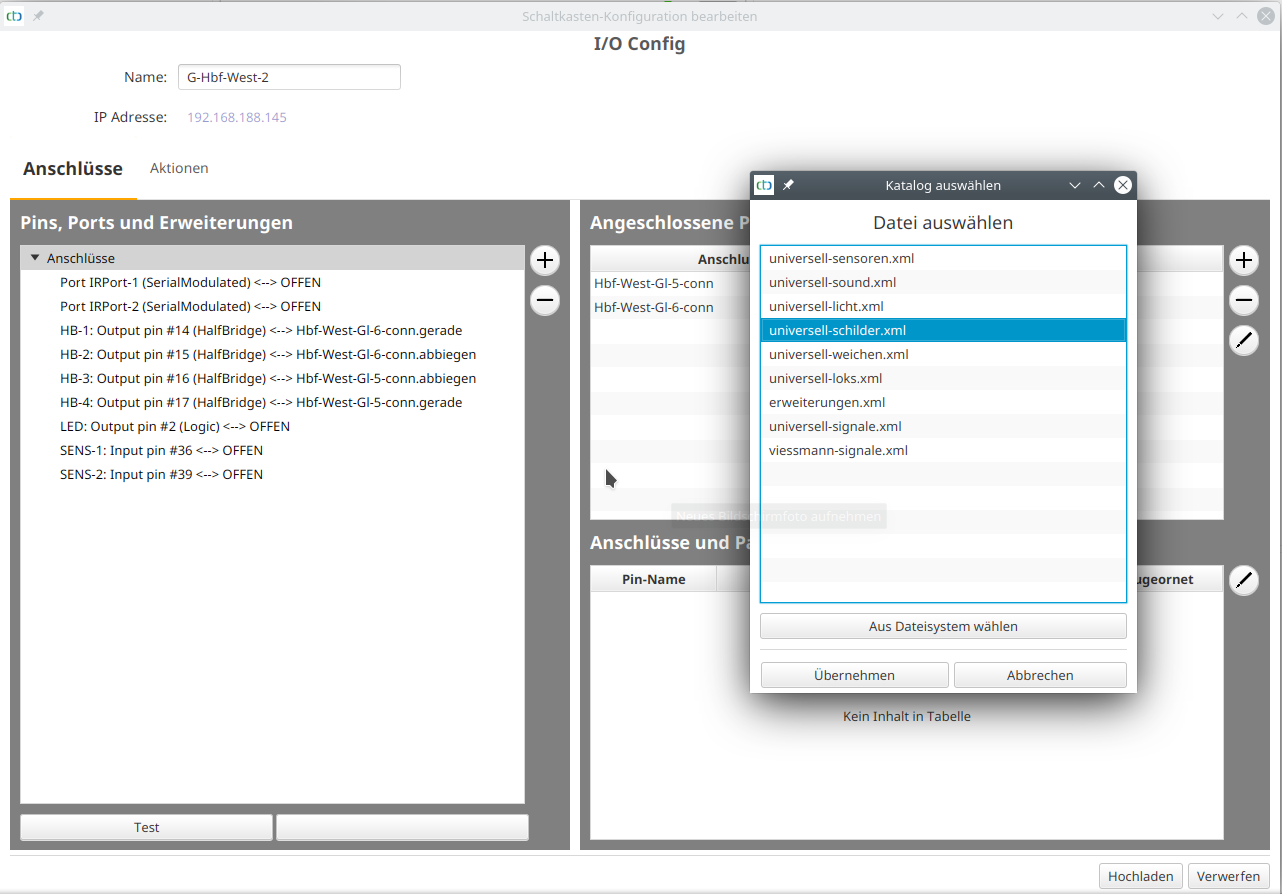
We choose a CTC module nearby, for example, the one that switches the turnout to the associated siding. There, we go into the config and click on the button to add a product. We select the catalog “universell-schilder.xml”:
Note: On Stellwerke.de there is a comprehensive description of signs commonly used by the railway and their abbreviations.
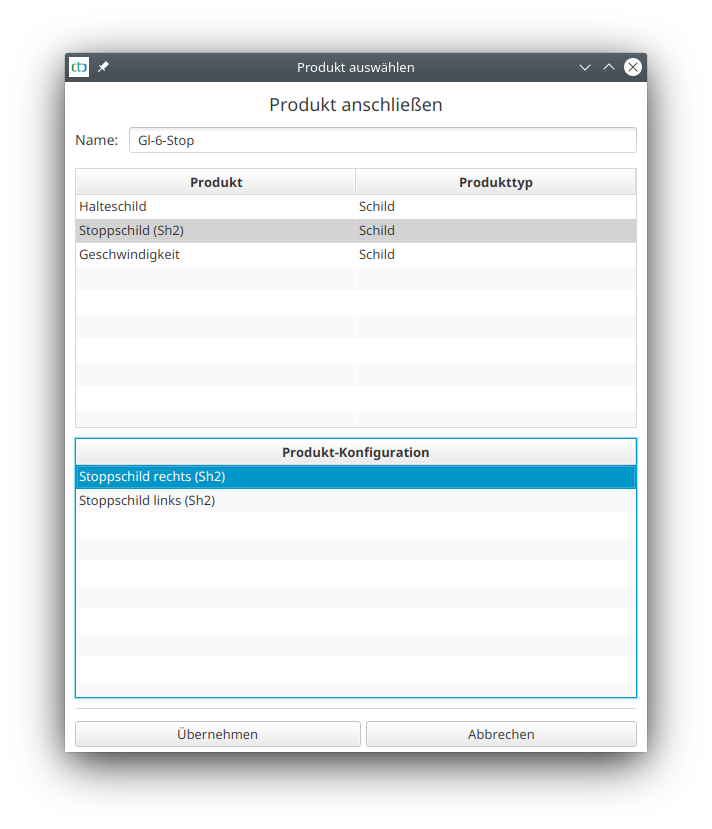
We then assign a suitable name and select “Stop Sign” in the correct direction (right stands for “clockwise”):
The new sign has been adopted:
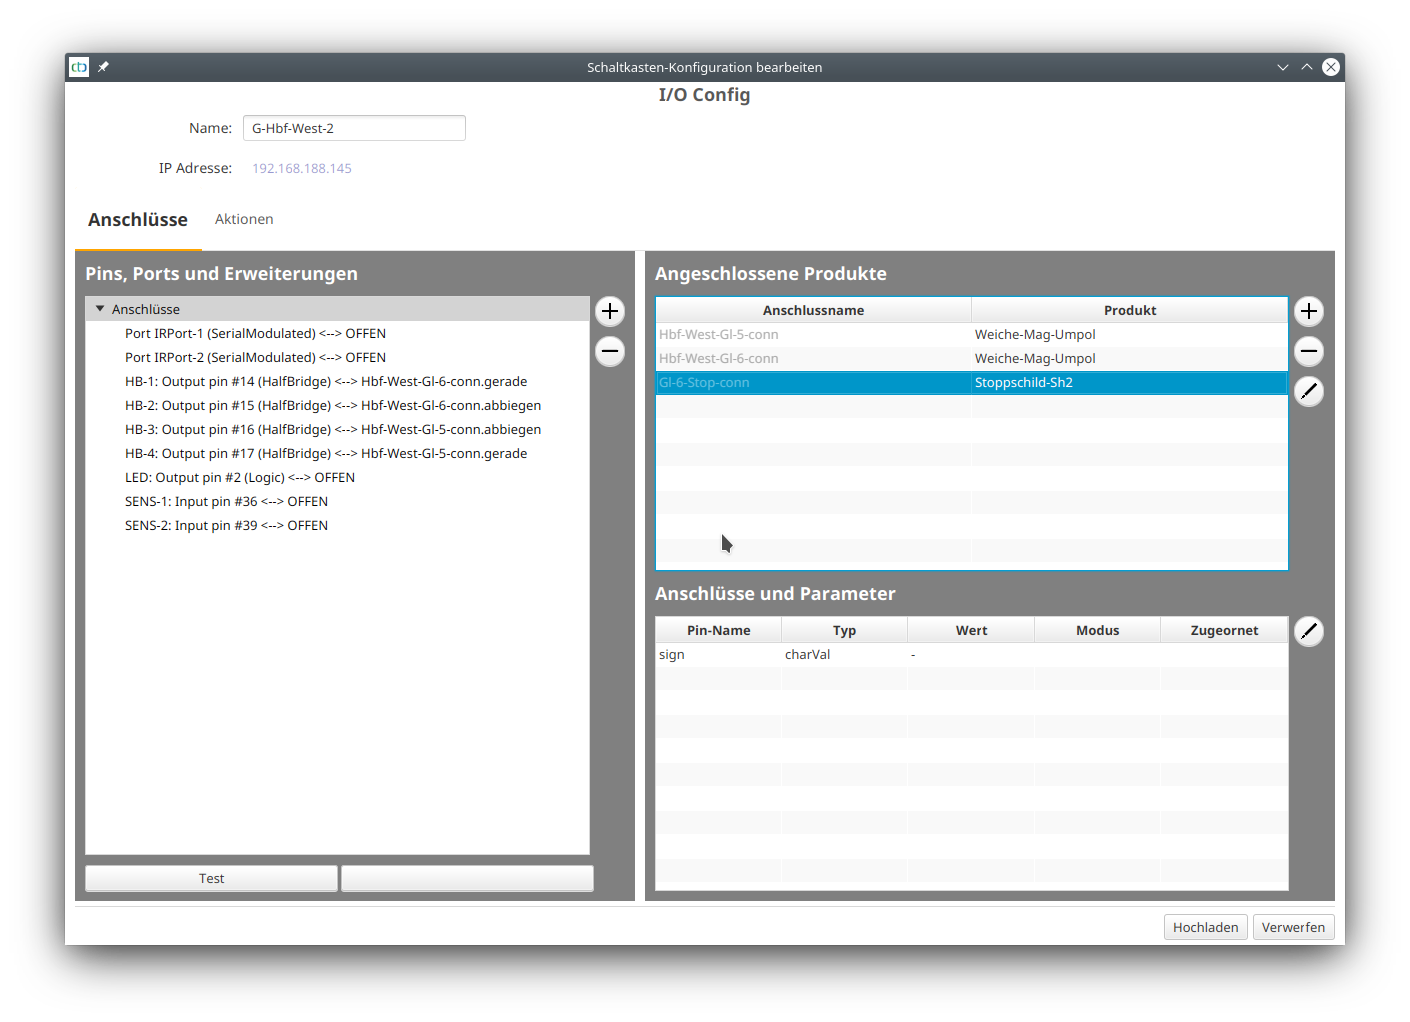
We can now upload the config and then set the position of the sign in the track layout.
Place Stop Sign in the Track Layout
To do this, open the track layout where the buffer is to be placed and set a signal (traffic light) at the relevant spot.
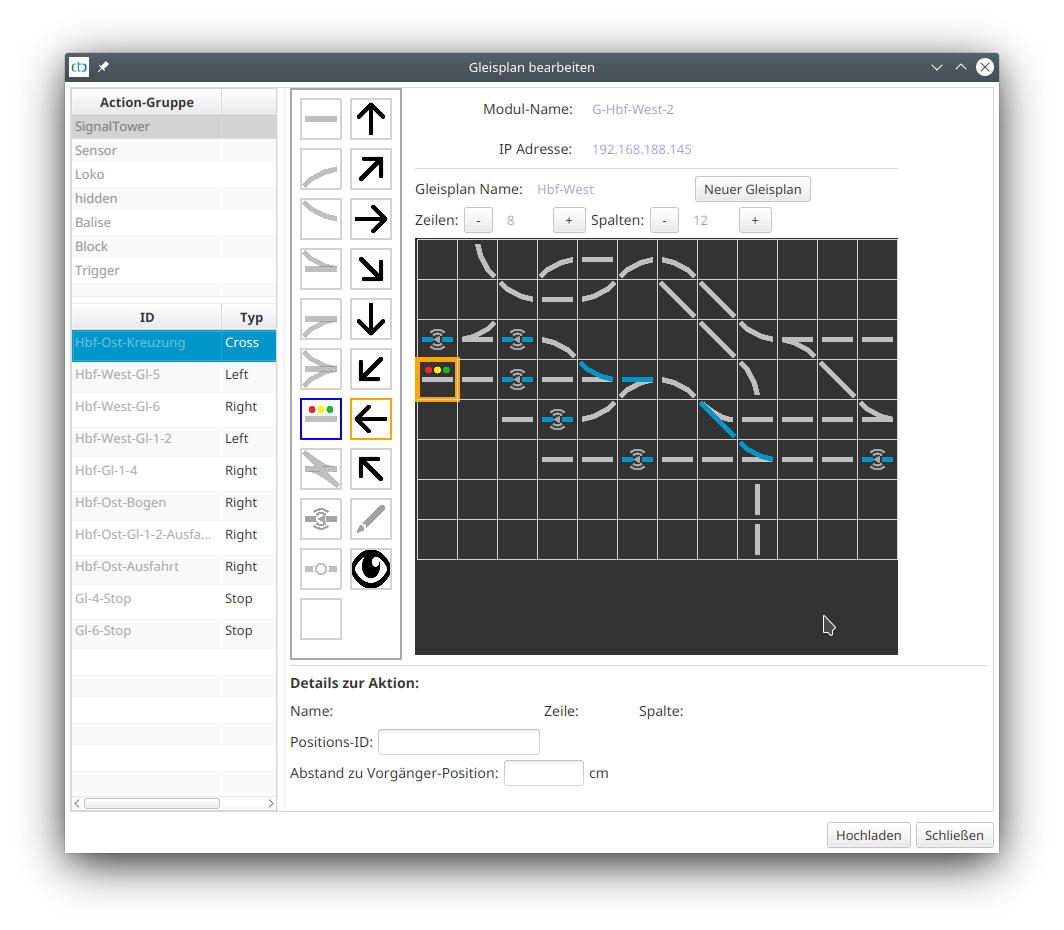
Then select the sign at the buffer:
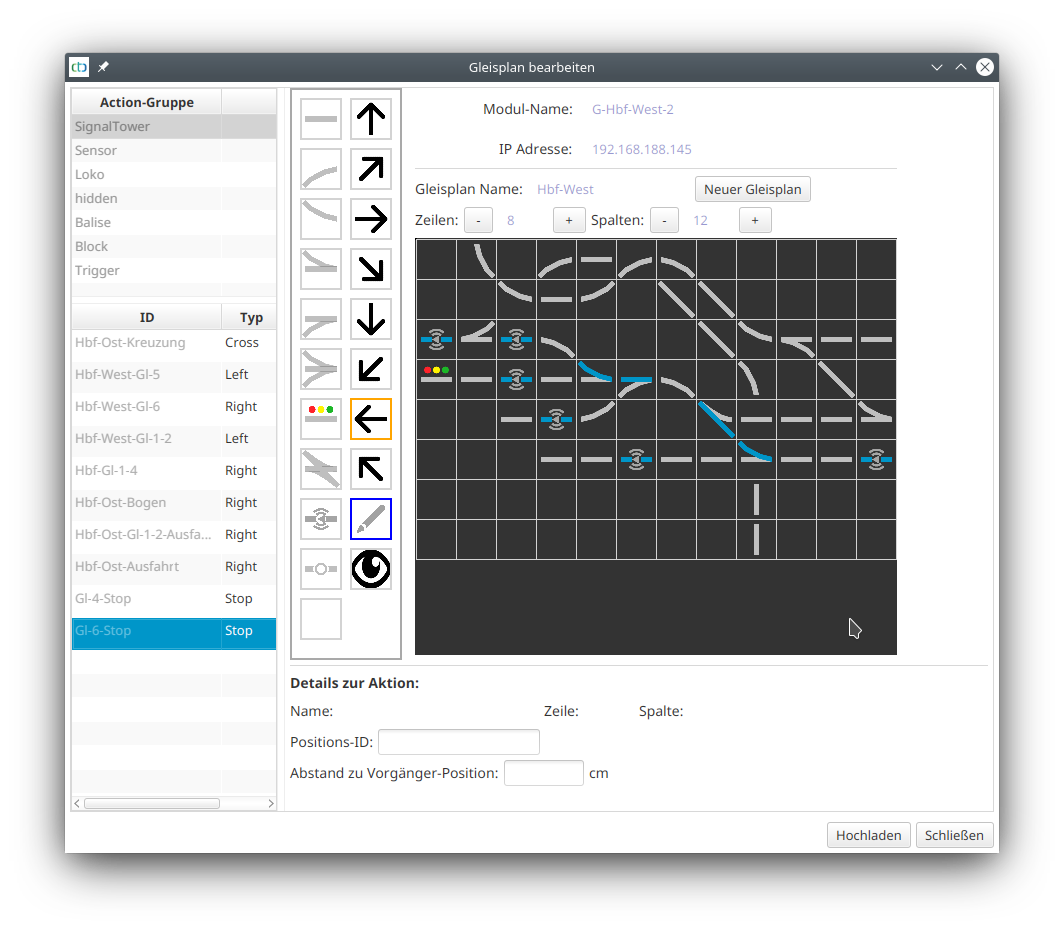
By clicking on the newly placed signal, the buffer sign is assigned. The symbol changes to the red rectangle with a white border, as defined for Sh2:
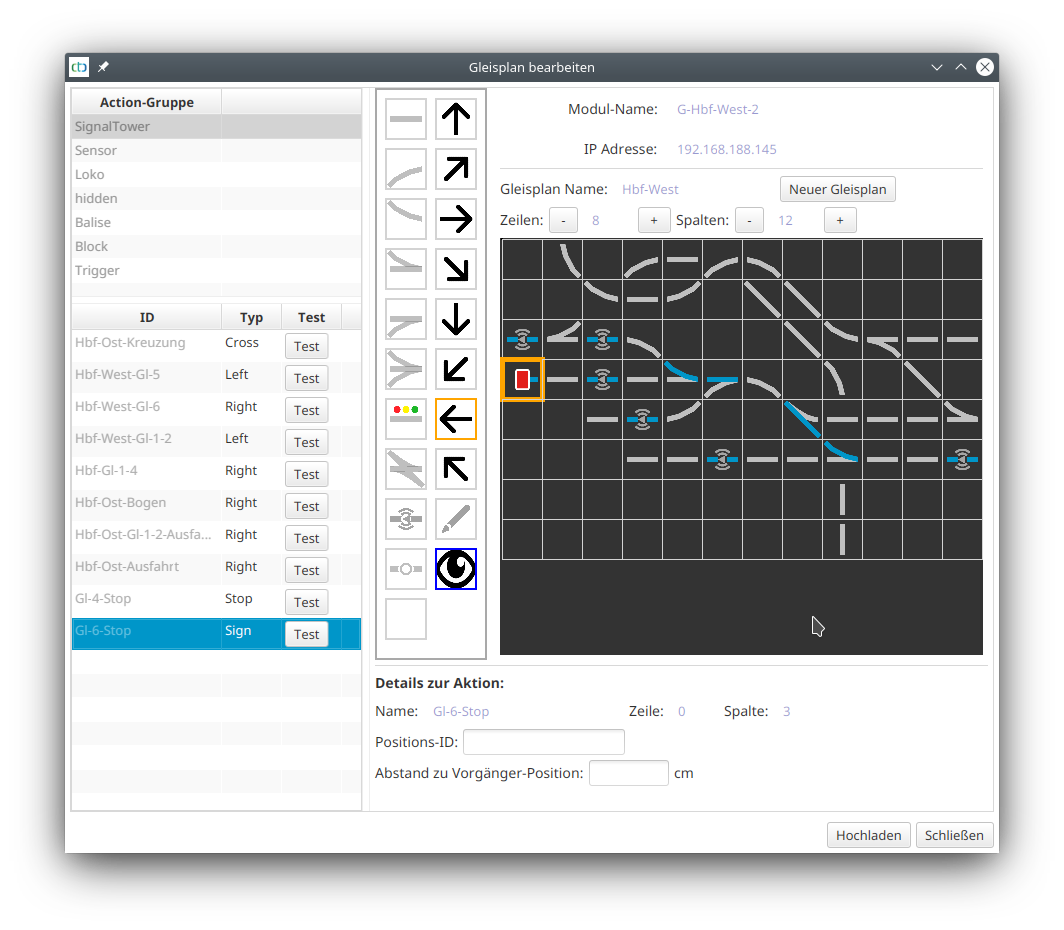
Next, we need to link the stop sign with the NFC-balis.
Link Stop Sign and NFC-Balise
To do this, click on “Change Automation” in the switch box configuration of the CTC module, which also contains the track plan. There, under “Actions”, we search for the relevant NFC-balise and select the already existing trigger:
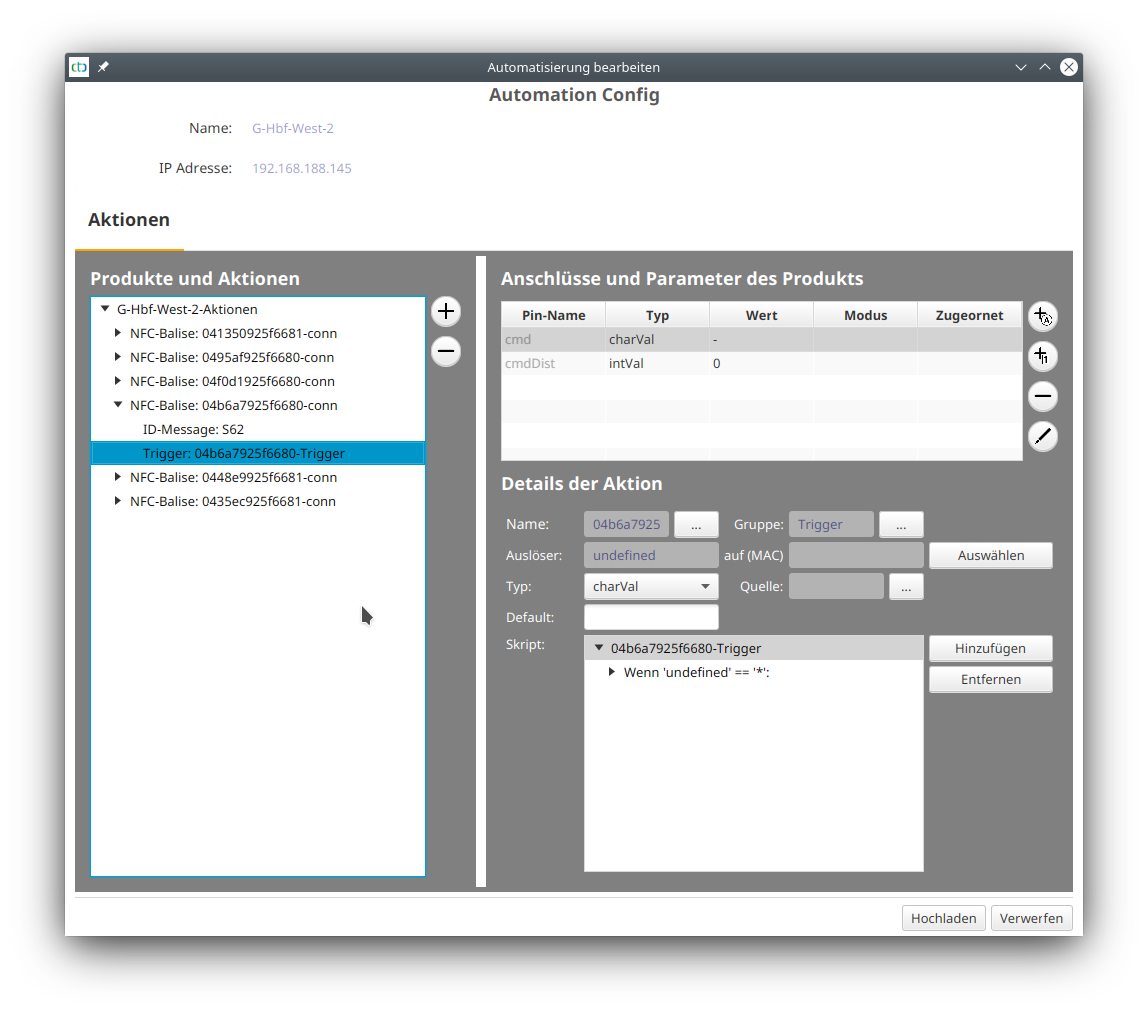
We click on the “Trigger” button and select the sign at the buffer as the trigger:
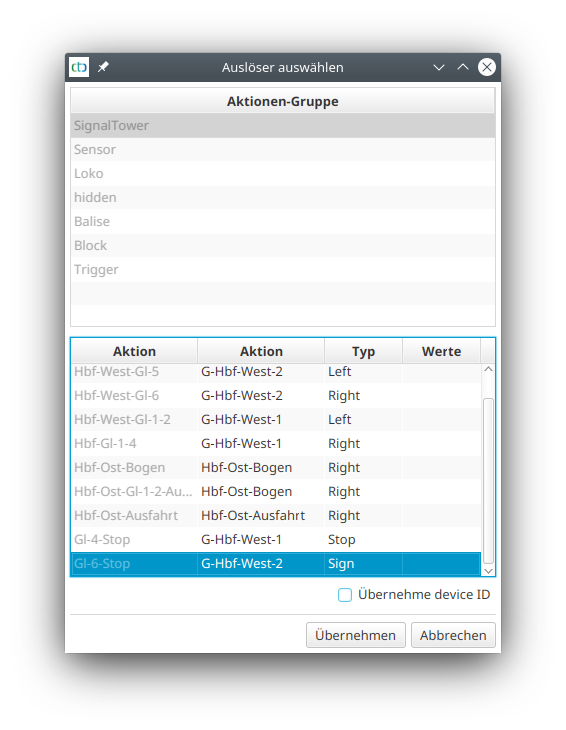
The buffer has been adopted as the trigger:
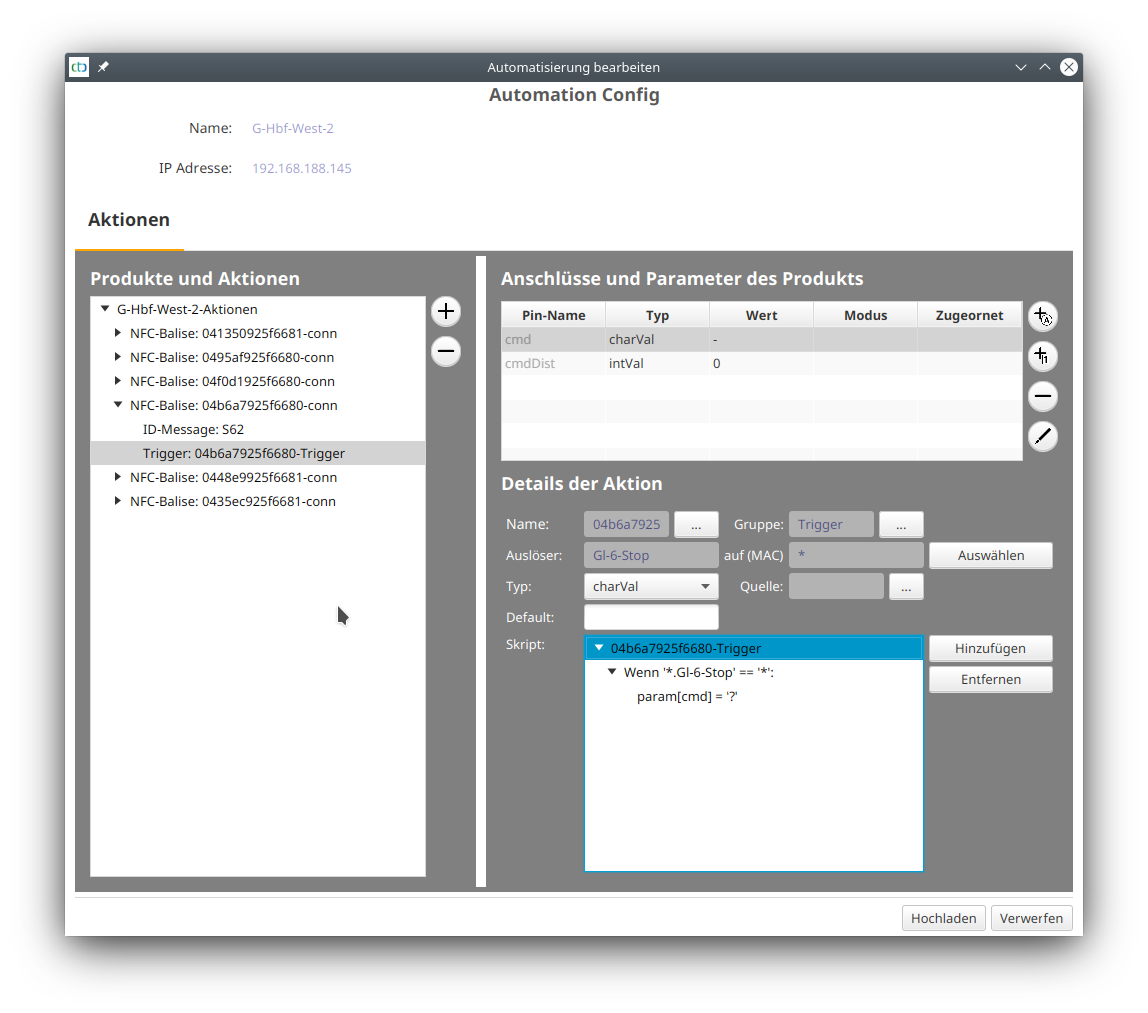
We upload the config, and the balise in front of the buffer becomes active. The red marking in the direction of travel to the right of the track indicates the stop sign ahead:

Note: If the display on the balise appears on the wrong side, you have positioned the balise the wrong way around in the track layout. When placing the balise, pay attention to the small gray arrow in the center of the symbol: It must point clockwise.
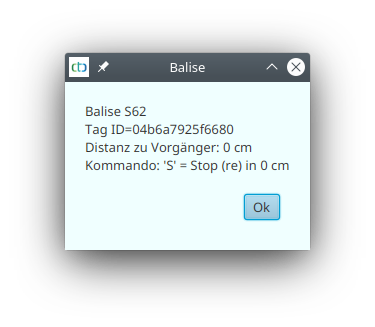
Check the Status of the Balise
By clicking on the balise in the track layout, we can get detailed information about the balise at any time:
| Back to Part 1 | Part 2 | Proceed to Part 3 | Proceed to Part 4 | Proceed to Part 5 |
- Categories:
- Automatisierung (8)


