This article series describes the configuration of automation using a garden railway as an example.
In the fourth part, we enhance our station with blocks and routes.
Important: Blocks in CTC are always identified by exactly 2 characters (letters, digits). The assignment between balises and blocks is done exclusively through this name, i.e., all balises in a block must begin with the two letters of the block name.
Create Block in the Track Plan
As soon as we have added the first balises of a block, the block also exists. In this case, we don’t need to create the block, but can place it directly in the track plan. To do this, we place a sensor at the desired location with the correct clockwise direction:
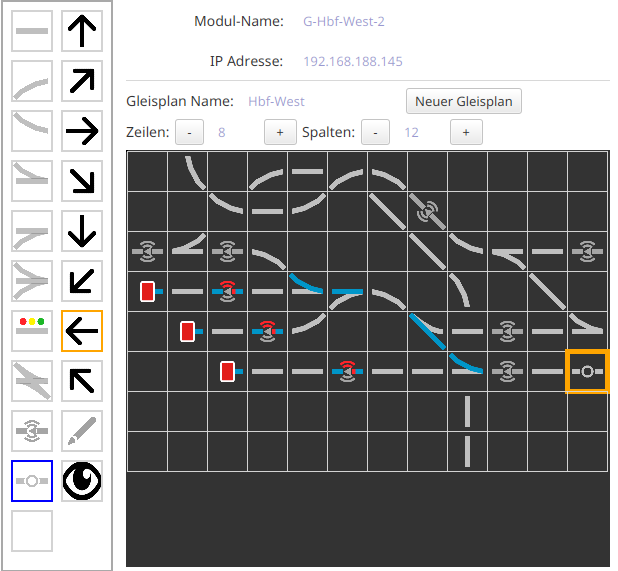
Then we select the block and click on the spot where we just placed the sensor:
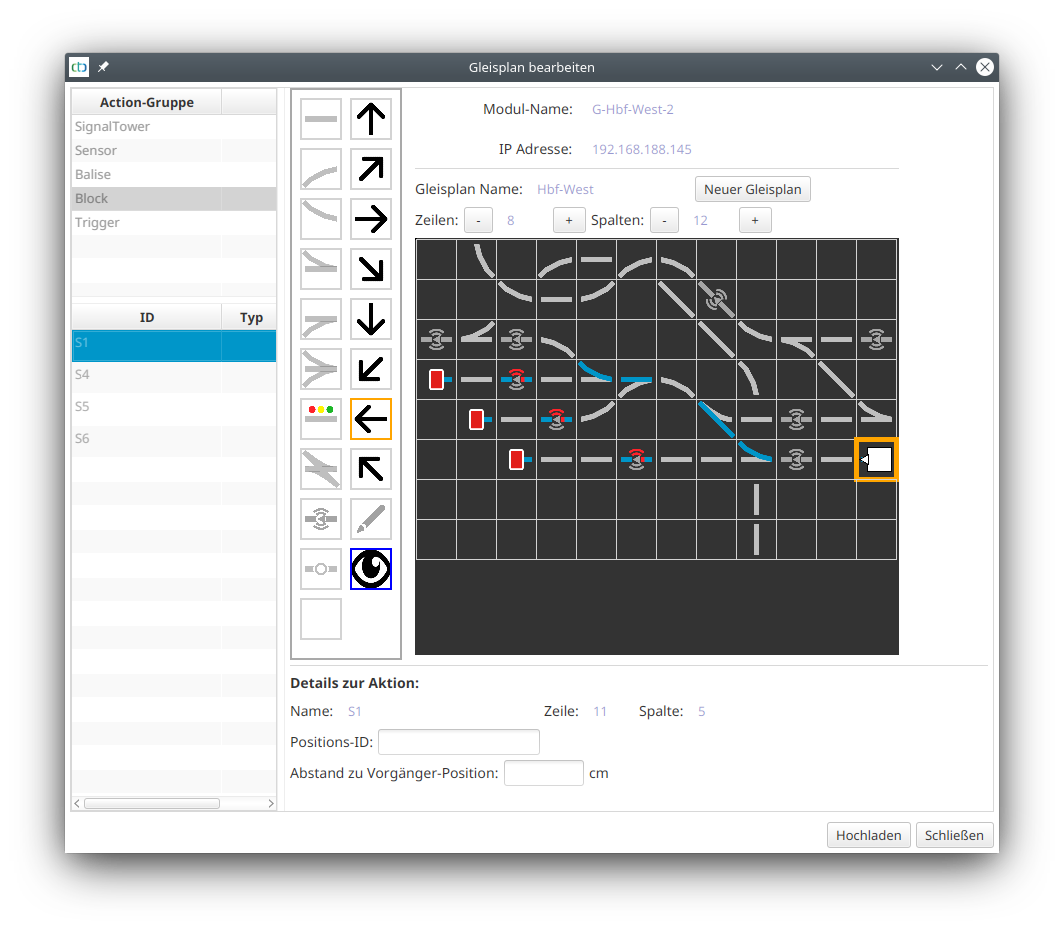
Important: The small arrow on the block must point clockwise.
Create Block in the Config
If there is no balise for the block yet, we can also create it manually. To do this, we open “Edit Automation” of a CTC module, preferably the module on whose track plan the block should be placed later. There we click on the plus button next to “Products and Actions”.
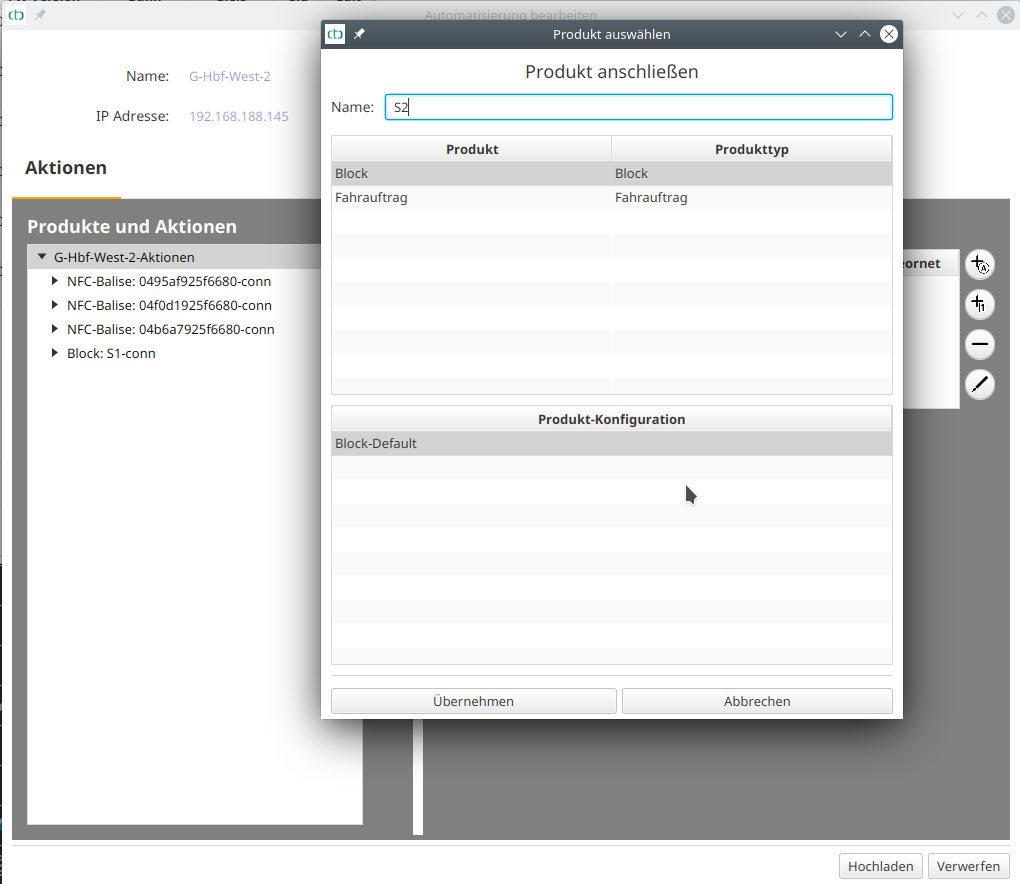
We assign a name (exactly 2 characters), select “Block” and click on “Apply”.
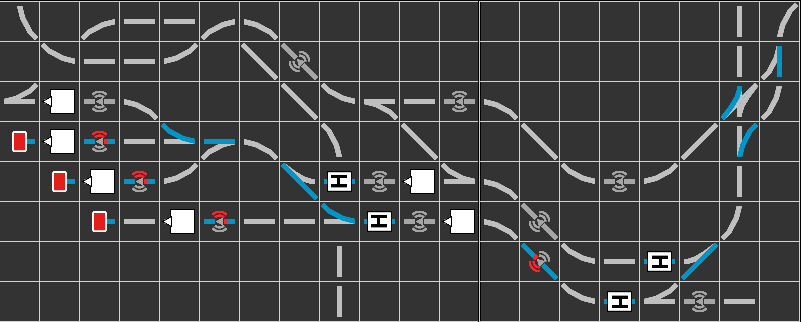
Blocks in the Track Image
Create Route
A route is the connection between two blocks. It is always created at the block where the route begins. To do this, we open the “Edit Automation” dialog of the CTC module where the start block is defined. Usually, this is the same CTC module that also contains the track plan showing the block.
There we click on the block and then on the plus button to the right of “Products and Actions”:
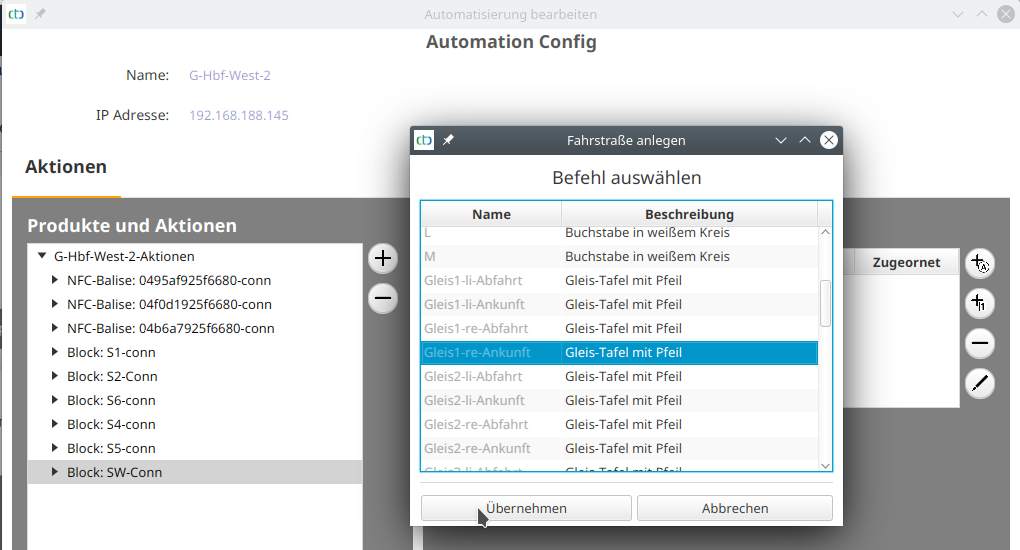
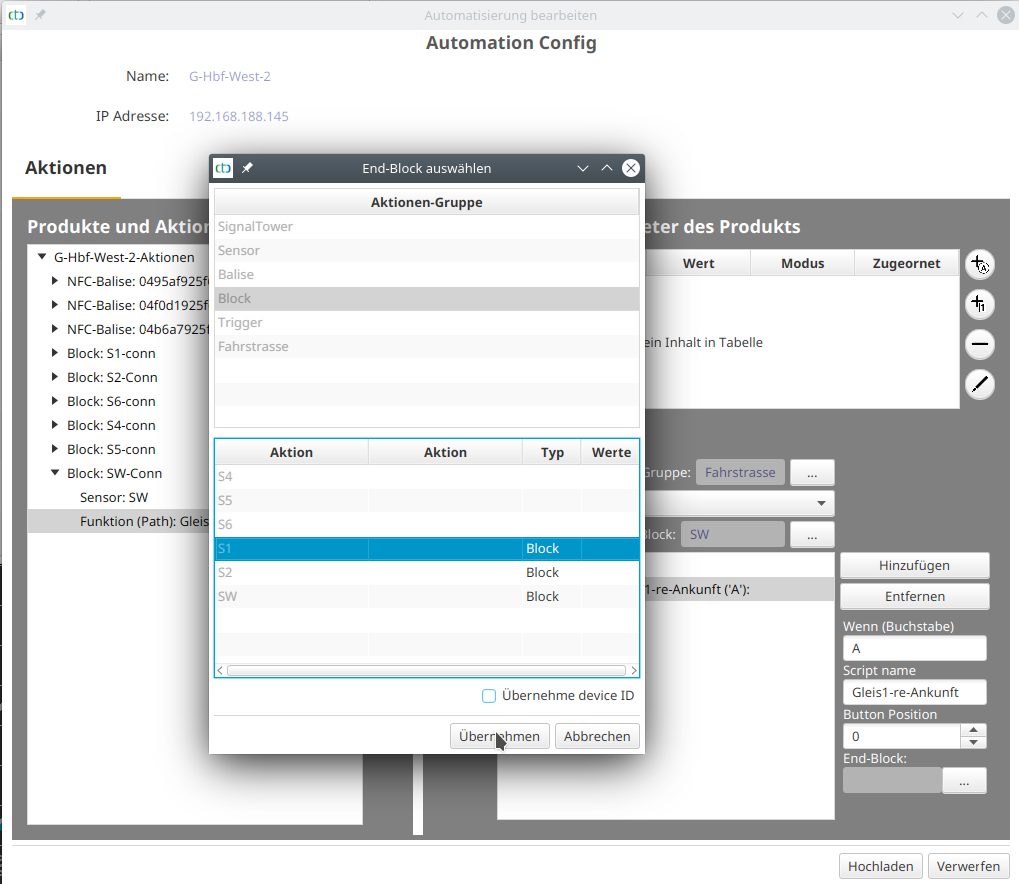
On the newly created route, we select the script line that begins with “Switch to”. There we click on the button under “End Block” and select the end of the route:
Then we click on the “Add” button to add the first switch command:
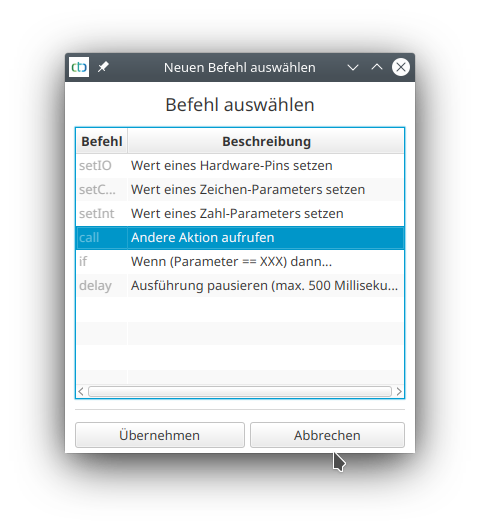
We select “call” and click “Apply”. The script window switches to the newly created “call”. Then we click on the button under “Execute Action” to choose the turnout to be switched:
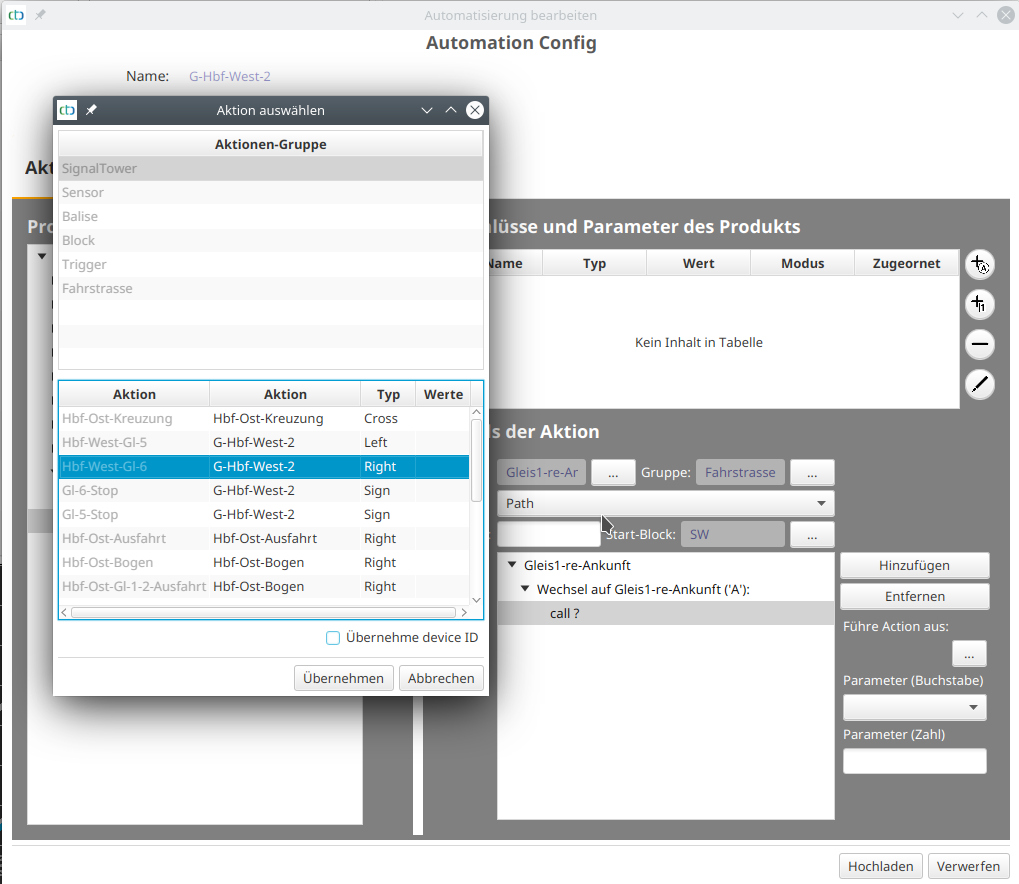
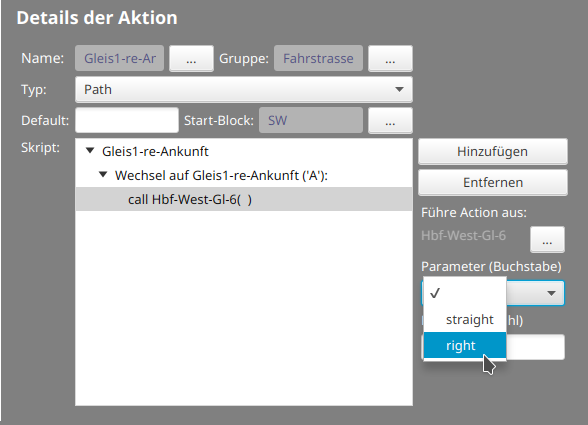
We mark the action group if necessary, then the desired turnout, and click “Apply”. Finally, we define through the selection at “Parameter” in which direction the turnout should switch:
This is what the fully configured route looks like:
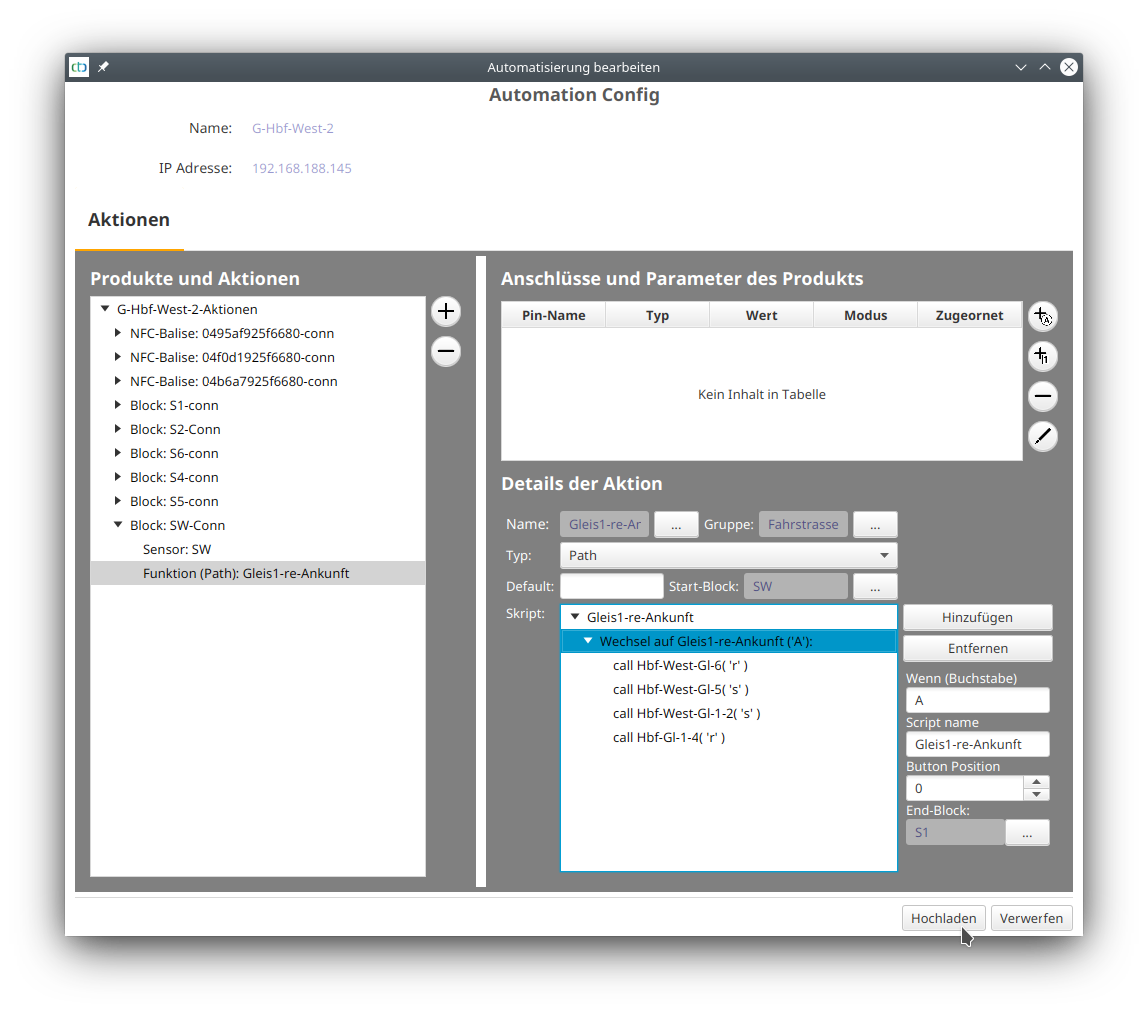
At the end, we click on “Upload”.
Switch Route
In the control panel, we now find an action group “Route”, with which we can switch our routes. After clicking on the button, it will turn colored:
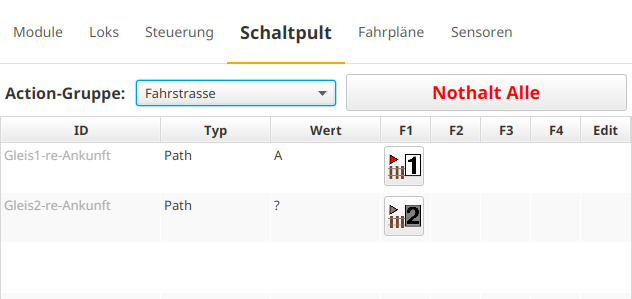
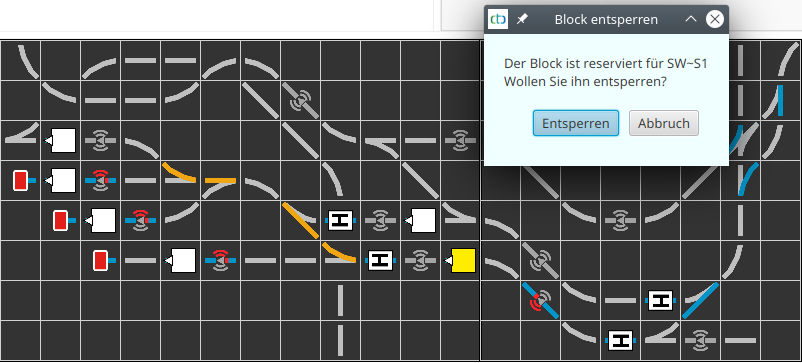
When switching the route, all turnouts and the target block are reserved first, and then the turnouts are switched. The reservation remains until a locomotive reaches the target block. The reserved turnouts are colored orange, the reserved block yellow:
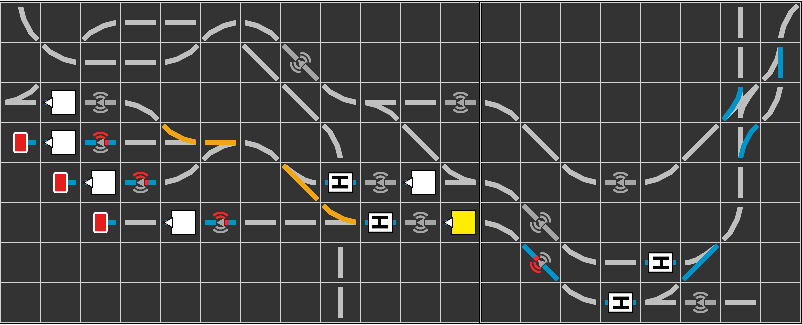
By right-clicking on the target block, the route can be reset without a locomotive having to reach the target block.
Reset Route
| Back to Part 1 | Back to Part 2 | Back to Part 3 | Part 4 | Continue with Part 5 |
- Categories:
- Automatisierung (8)


