Continuation from Part 1.
The last two weeks were marked by the planning of signals for the main station and tinkering around with Märklin’s C-track.
The Removable C-Track
Although it has nothing to do with CTC, we do not want to withhold it from anyone: As beautiful as the C-track is for carpet railway enthusiasts, it can be annoying for fixed installations: It snaps together in no time, but if you want to separate it again, you have to dismantle half the layout. Peter’s father cursed about this 20 years ago and was laughed at by Märklin’s support when he called and suggested a removable C-track.
Well, the removable C-track still does not exist, but it can be easily made:
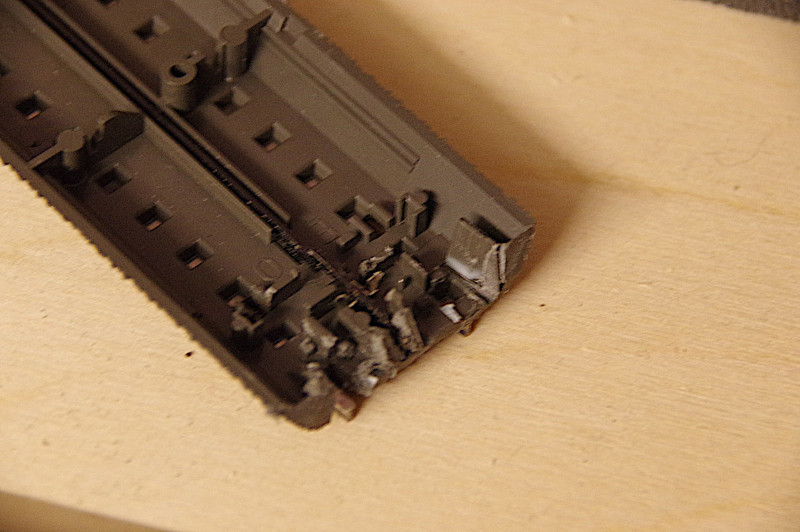
- Saw off the plastic tab and other flanges at one end.
- Completely remove the connection tabs with pliers.
- File the rail end slightly oblique downwards.
- File a small groove where the overlap from the other track comes.

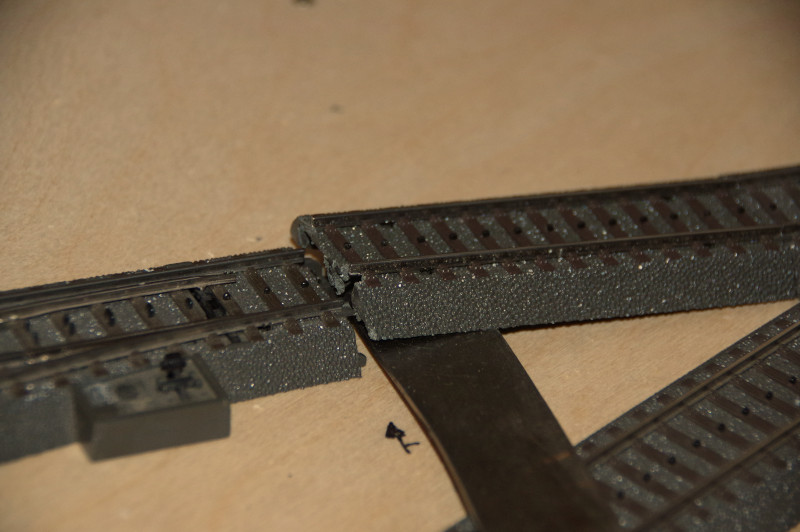
The lateral guidance is still surprisingly good and attached it fits perfectly. With a knife, it can be easily popped up at any time:

Light Signals
After some deliberation, we decided not to connect the departure signals to the CTC turnout modules. The decisive factor was our own motto “Sensational Reduction of Cabling.”
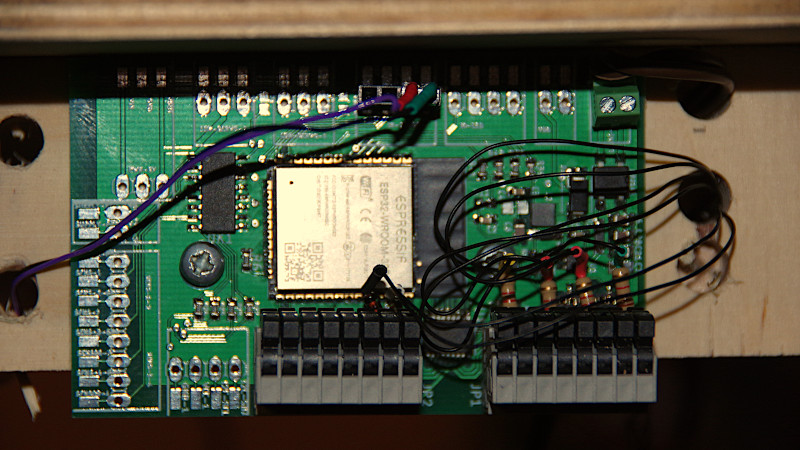
Therefore, each departure signal receives its own CTC Multi-I/O board, to which only the IR balise directly in front of the departure signal will be connected. The other IR balise will be connected to the CTC Multi-I/O board for the departure signal at the other end of the track (for the opposite direction). Since the departure signals are equipped with 6 LEDs, the 8 connections of the I/O board are sufficient.
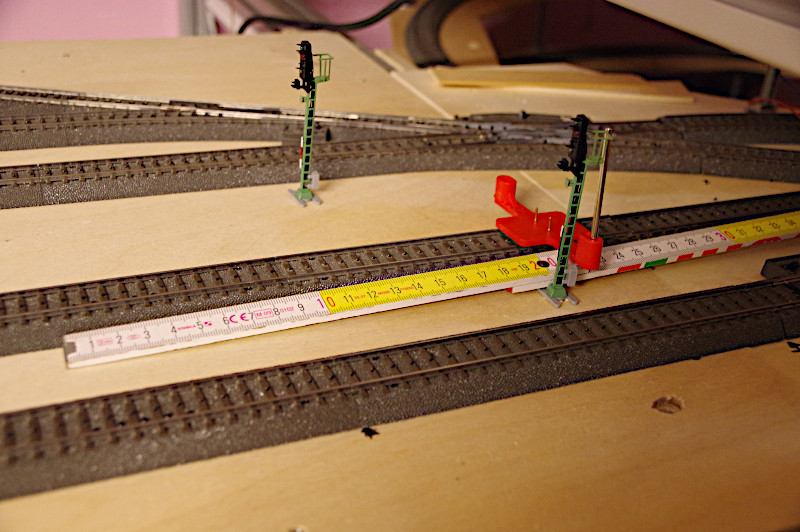
We place the light signal about 20 cm from the IR balise. For the lateral distance, we use Märklin’s catenary gauge.

The CTC Multi-I/O boards are placed at the edge of the model railway segment for easy access from the front or back:

The first departure signal was successfully connected, configured, and tested with the CTC app.
To be continued…
- Categories:
- Modellbahn (3)


