





In this article, I will show you how to equip the LGB turnout drive (No. 12010) including the turnout lantern (No. 12040) with a CTC-Turnout-Module-G .
Important: This documentation was created before our final decision regarding cable colors .
The cable colors in the photos therefore do not correspond to this specification
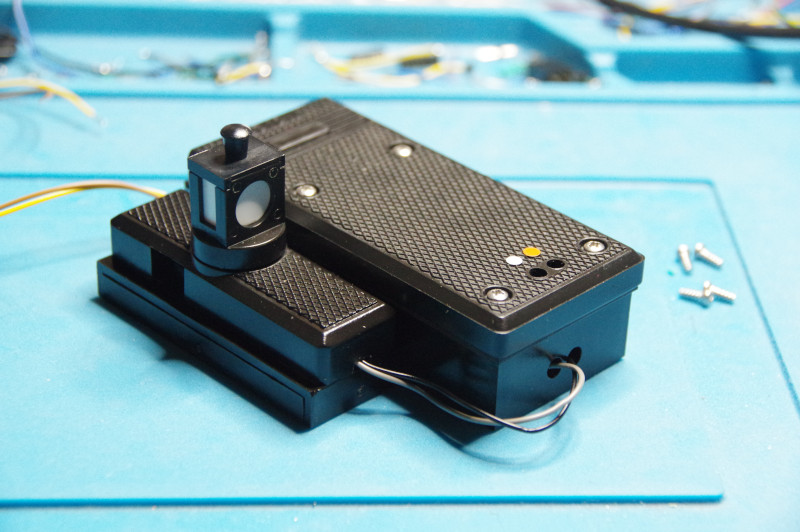
Here, at the beginning, the fully converted turnout drive:
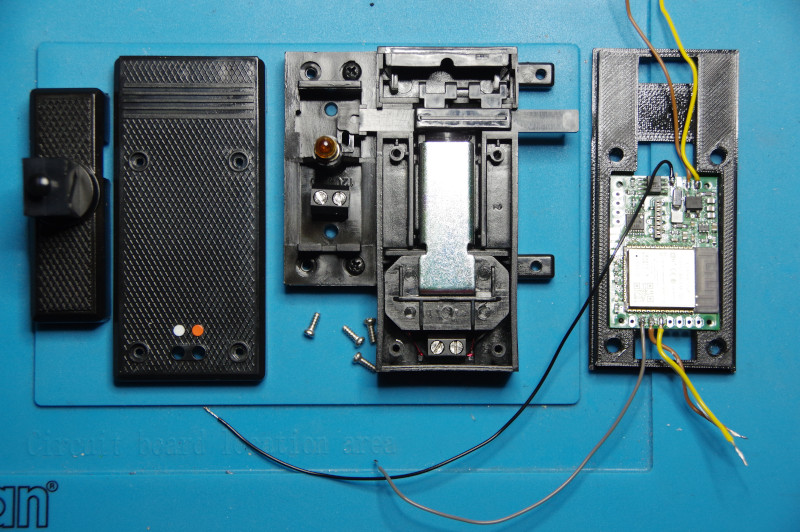
First, the turnout lantern is installed according to the instructions included with the product. Next, the covers of the turnout and lantern are removed. In the following image, I have already prepared the mounting frame and the CTC-Turnout-Module-G on the right:
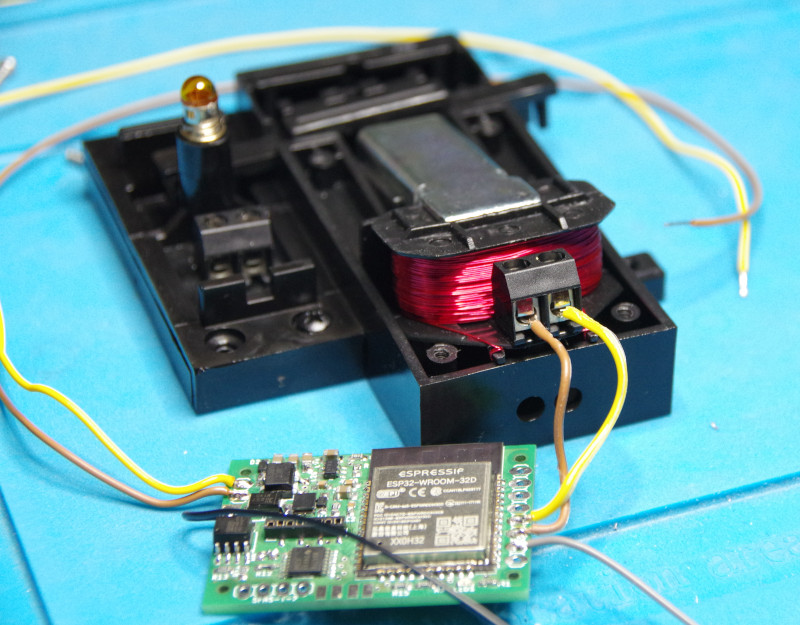
Then the turnout drive is lifted so far that the screw terminals are accessible. After that, the short cables soldered to HB-1 and HB-2 are connected to the screw terminals of the turnout drive:
Furthermore, the cables for connecting the turnout lantern (HB-3 and GND, gray and black) are threaded through the holes of the turnout drive:
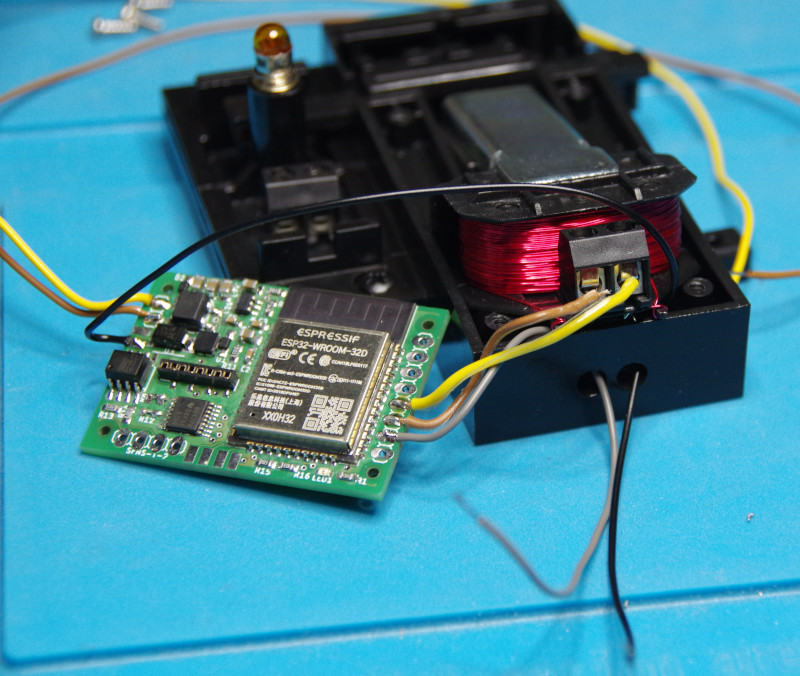
When reinserting the drive, care must be taken that no cable is pinched Insert the CTC module into the mounting frame and route the track connections (track-A and track-B, brown and yellow) out again on the other side of the housing. For this purpose, a 3 mm hole was drilled into the removable cover.
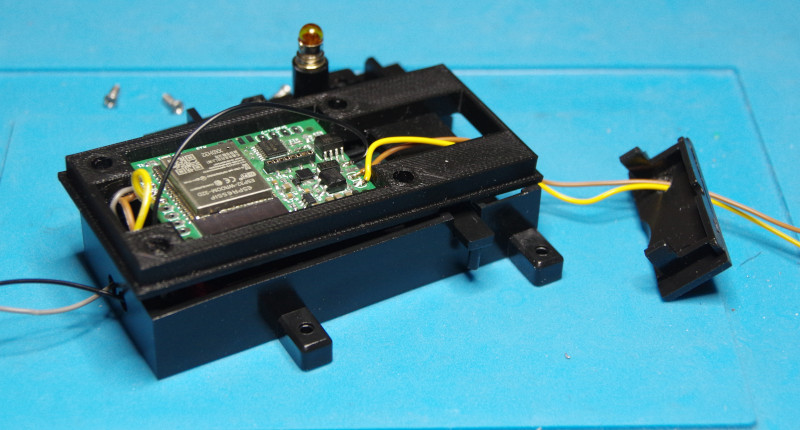
Now we screw the cables (gray and black) to the screw terminals of the turnout lantern. Since it is still an incandescent bulb, we do not need to worry about polarity:
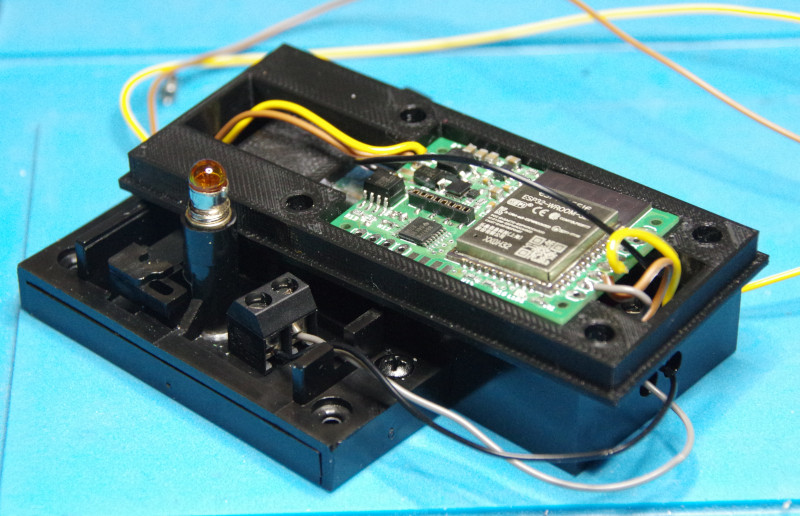
Then we place the cover on the turnout lantern. Care must be taken that the guide pin lands in the designated hole. In the image on the right, the cover and the longer screws supplied by CTC are already ready:
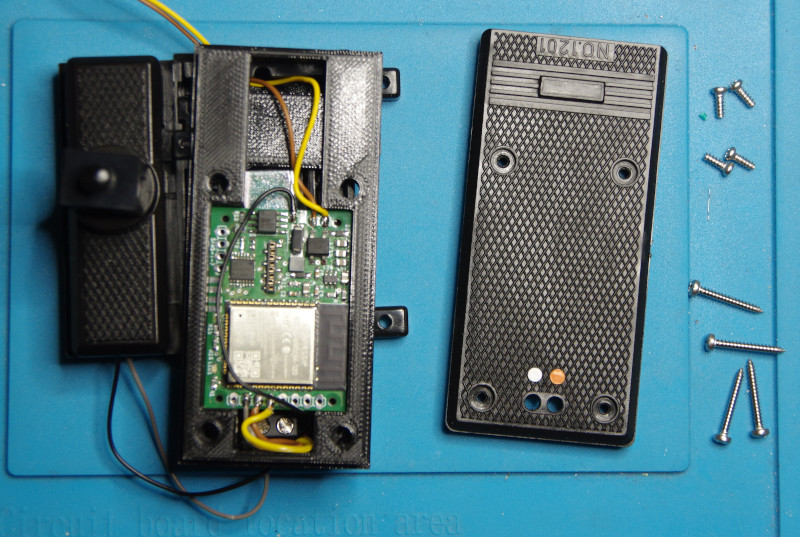
Finally, we position the mounting frame, place the cover on it, and secure it with the longer screws.