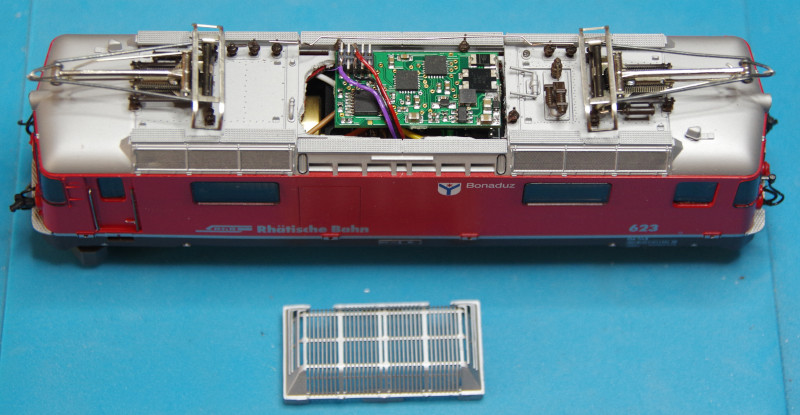
At our trade booth, the H0m gauge should not be neglected. For this reason, I bought a Bemo StarterSet on eBay and then upgraded the included locomotive to CTC.
The accompanying documentation clearly explains how to disassemble the locomotive. First, both couplings are pulled out. Then the four clips hidden in the side walls can be opened and the housing pulled upwards.
In the picture, I have already removed the roof assembly since the CTC module will later be placed there:
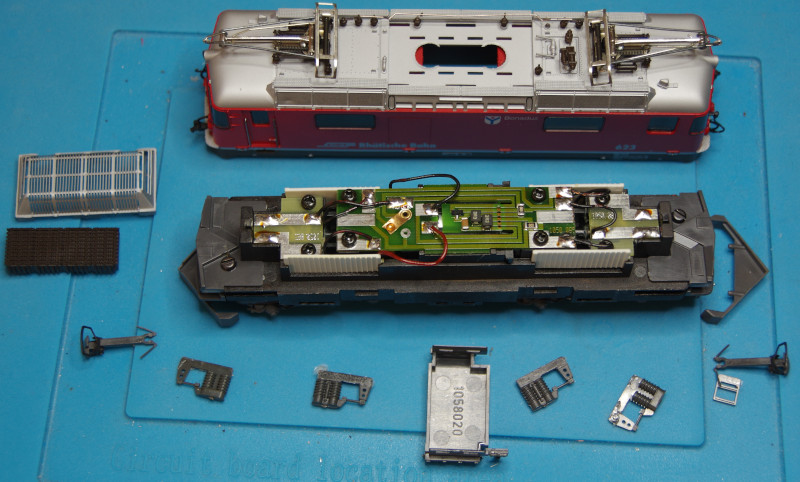
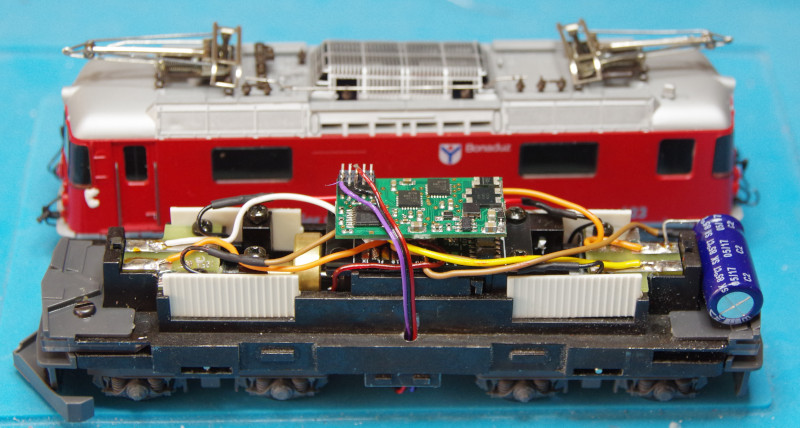
After some deliberation, I decided to remove the locomotive board. Unfortunately, this also holds the motor in place, so a suitable replacement is needed. A PluX22 adapter, which I had acquired on eBay, luckily had matching screw holes. I could only use two of the four screws from the old board, but even so, the motor is well fixed. The picture shows the locomotive with the installed CTC-Locomodule-PluX22. The support capacitor fills the rear driver’s cab:
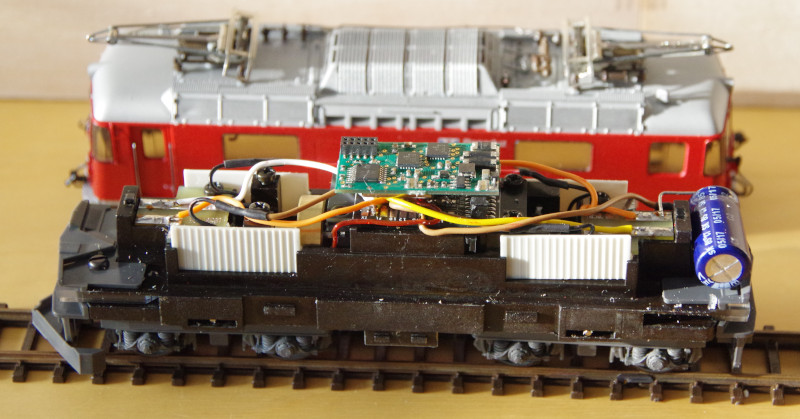
As often is the case with analog locomotives, one pole of the lighting at the front and rear was connected via the housing. I separated this connection on the respective boards with a cutter knife. The separation points are visible in the photo directly next to the soldering point of the orange wire:

For the IR receiver, I removed the central undercarriage cover and drilled a 3mm hole through the housing. Then I could pass the cable through, solder the IR receiver, and finally glue it to the locomotive housing:
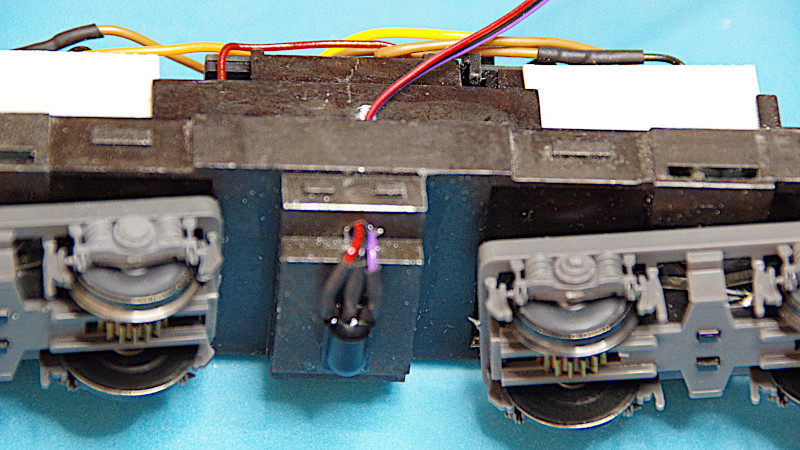
Now, I only needed to plug the cable of the IR receiver into the CTC-Locomodule-PluX22:
Then came the ugly part: The housing below the roof assembly had to be cut open enough for the locomodule to fit through. With another PluX22 adapter that has a lower socket, the roof assembly would fit back on neatly. For my trade show locomotive, the roof assembly is left out, allowing an unobstructed view of the CTC-Locomodule-PluX22:
