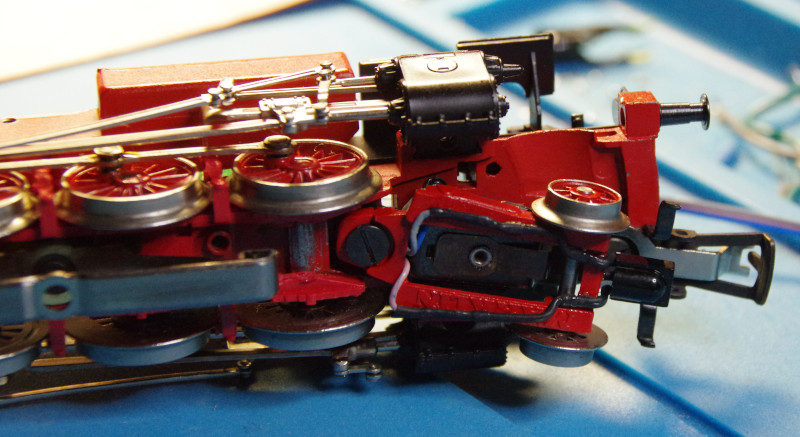





The loco is opened via the easily visible screw in the dome in front of the driver's cab:
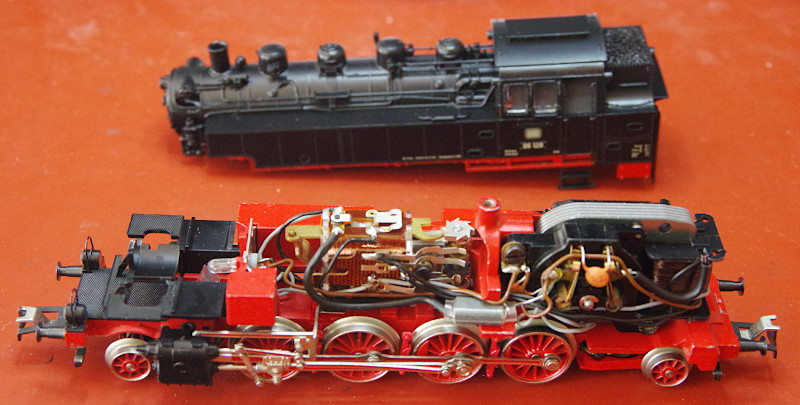
The loco presents itself as a classic analog Märklin loco with universal motor and uncoupler. A detailed instruction for locos of this type can be found in the article Umbau E103 Märklin 3054 .
The wires are removed from the guides. The photo documents the condition before starting to unsolder wires:
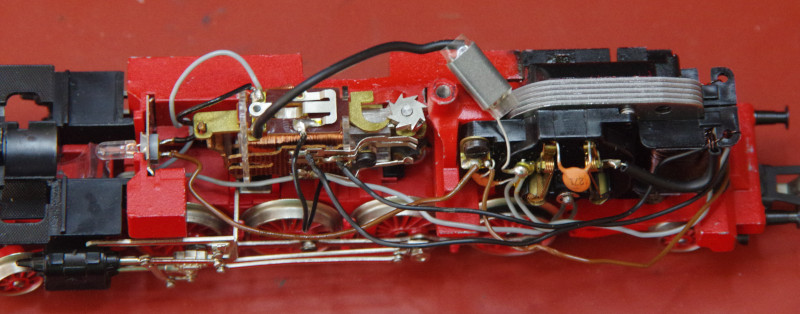
Now the switch is removed. The old radio choke and the capacitor between motor and housing are no longer needed:
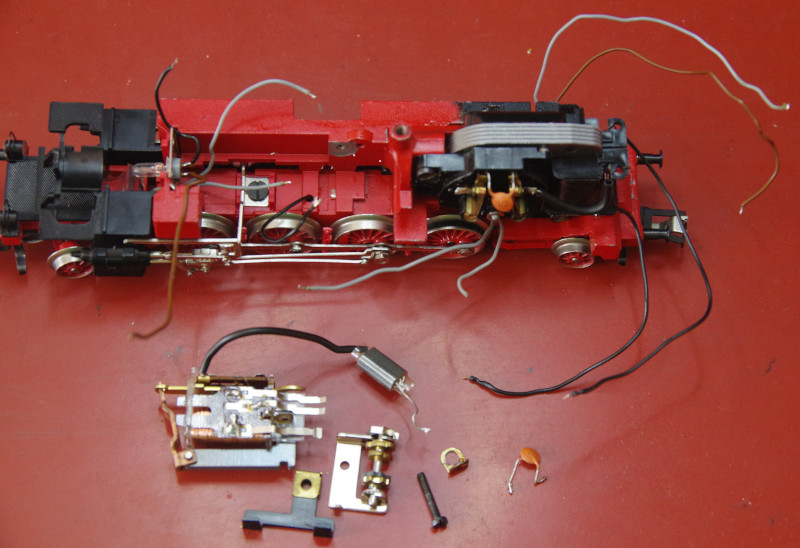
Then, from the accessories for H0a loco conversion (CTC-No. ZL-UA), the ferrite choke (3.3 µH) is soldered to the open motor pole. The other end of the choke will later be connected to the motor output of the CTC-Loco-Module.
At the other motor pole, the field coil is still connected. Two diodes are connected to its terminals, which were previously connected to the switch, in different forward directions. The other ends of the two diodes are connected together and will later be connected to the motor output of the CTC-Loco-Module.
Since front and rear lamps are not connected to the loco housing, a diode can be omitted here.
In the following picture, the CTC-Loco-Module-H0a and the support capacitor have already been placed tentatively:
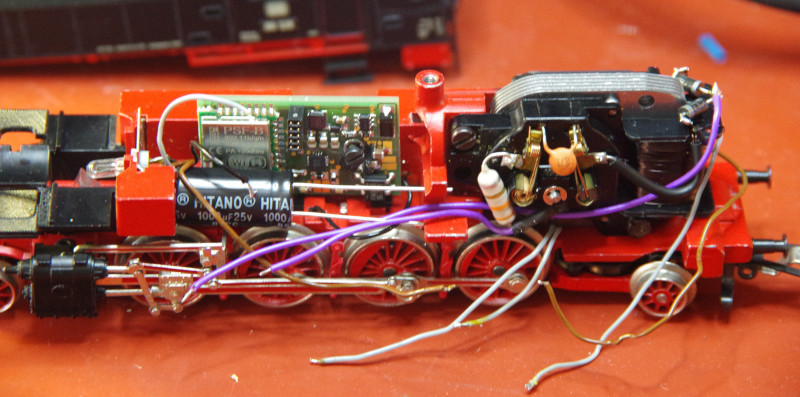
Now the motor, the lights, the two uncouplers and the support capacitor are soldered to the CTC-Loco-Module. The wire at the negative pole of the support capacitor is used as a common GND point.
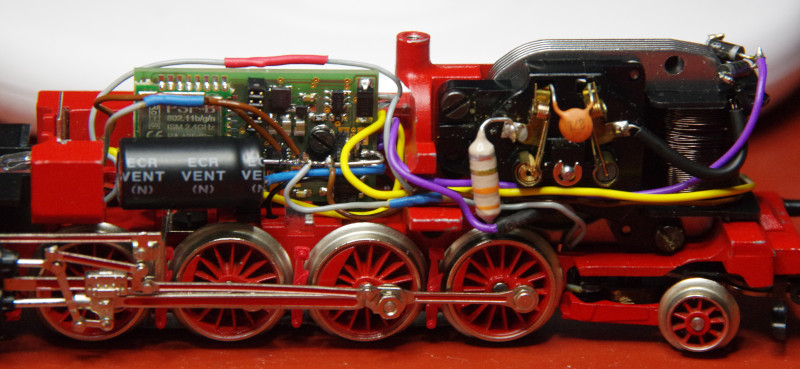
In the following picture, the CTC-Loco-Module and the support capacitor are installed. Motor (purple wire), lights (yellow and brown wires) and uncouplers (grey wires) are connected:
Now the IR receiver is still missing. For the BR86, it makes sense to fix it to the suspension of the front running wheel:
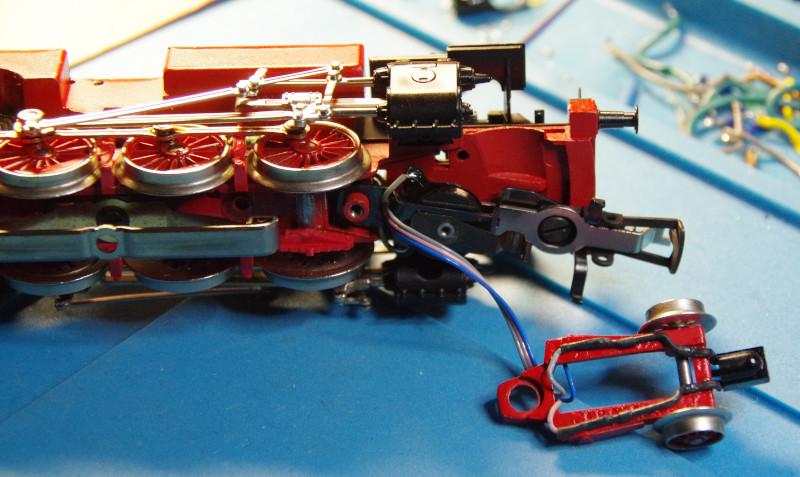
The cable of the IR receiver fits through the same slot as the cables of the front uncoupler.
Here you can see the IR receiver fully installed: