




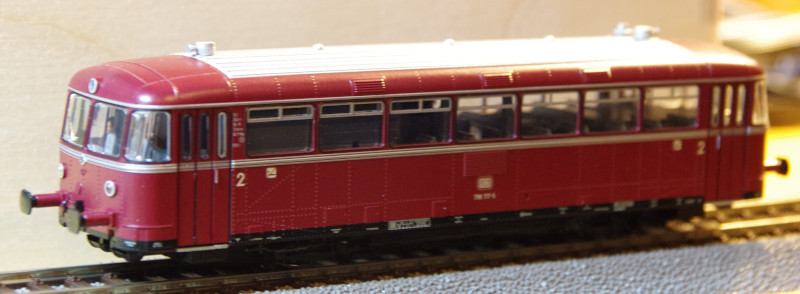
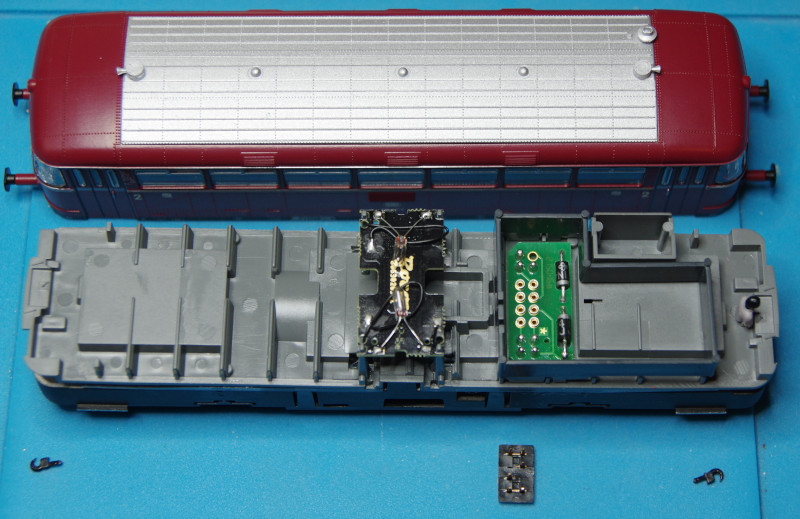
Roco provides a detailed guide that also clearly shows how to open the railcar: You only need to pull out the coupling hooks at both ends, then the housing can be lifted off upwards.
After removing the dummy plug from the NEM-652 connection, it looks like this:
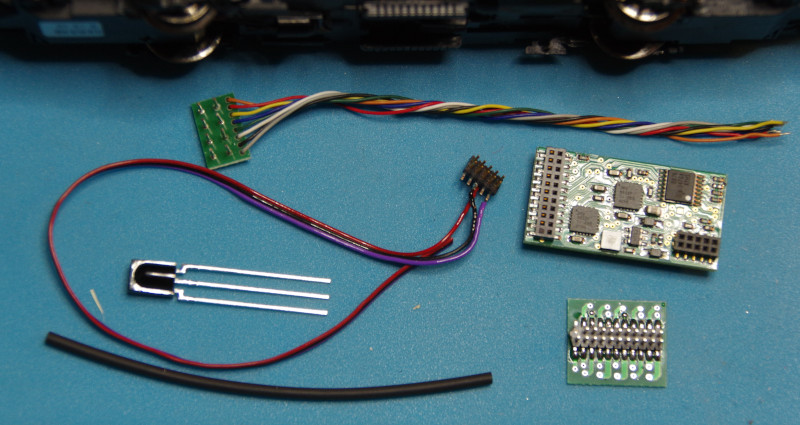
Currently, there is no suitable CTC module for the existing NEM-652 interface, but with the help of appropriate adapters, the CTC loco modules for PluX22 and 21mtc can be used. Since at the time of conversion I only had an adapter for 21mtc that could maintain the height of the installation space, I decided on the CTC-Loco-Module-21mtc . In the following image, we see all the components: the CTC-Loco-Module-21mtc with a suitable IR receiver set, the 21mtc adapter, and the NEM-652 plug with cables (only the support capacitor is missing in the picture):
For the IR receiver, I decided to mount it roughly in the center. After removing the side-clipped floor plate, I found a good spot for the IR receiver and a path for the cable. For this, I drilled a 3mm hole in the bottom of the decoder installation space:
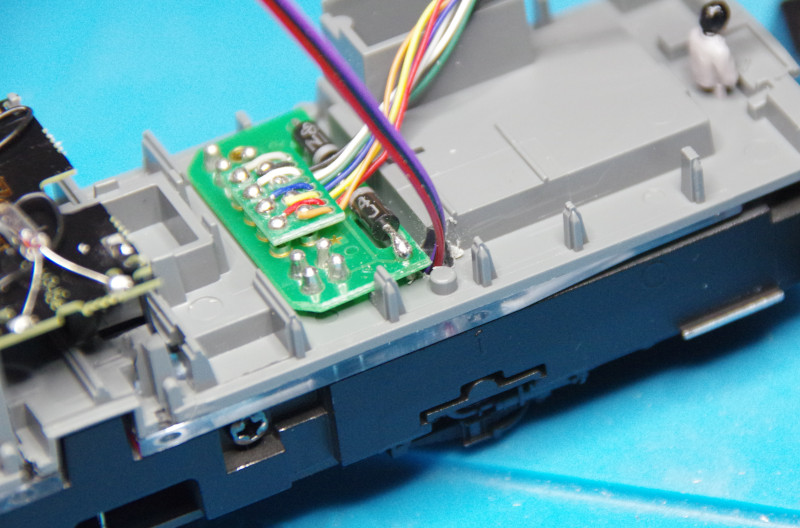
Below, the cable comes out between the wheel collector and the center of the housing:
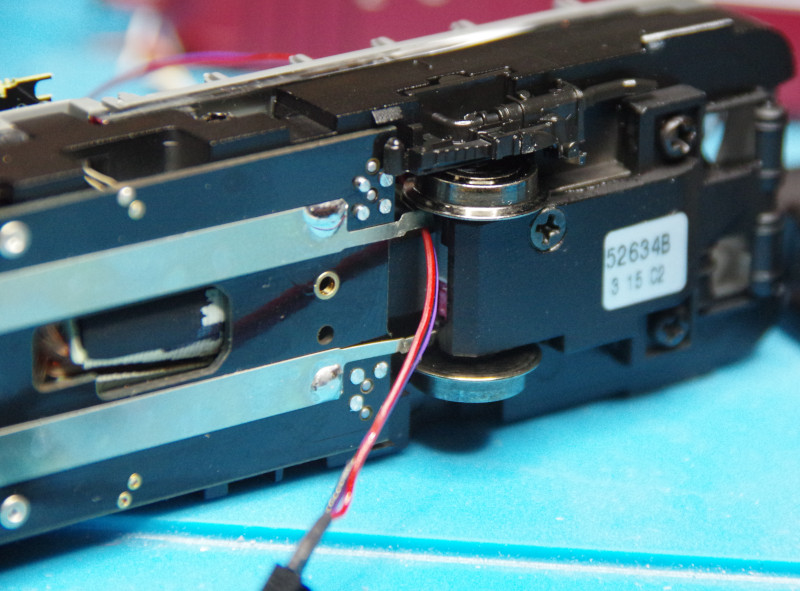
Then the IR receiver is glued to the housing, the floor cover is cut out accordingly and reinserted:
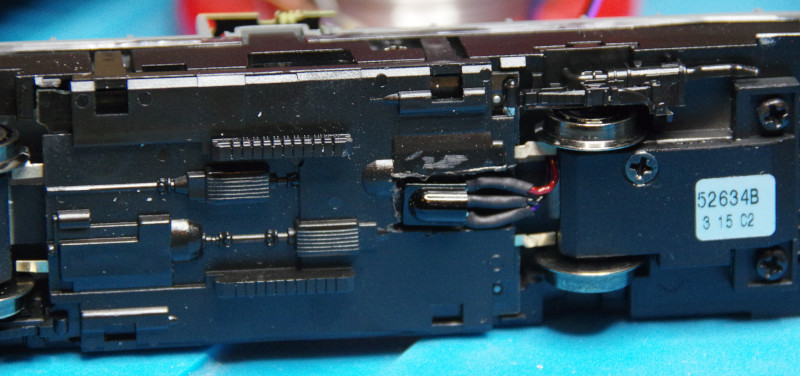
Finally, the IR receiver is plugged into the CTC module:
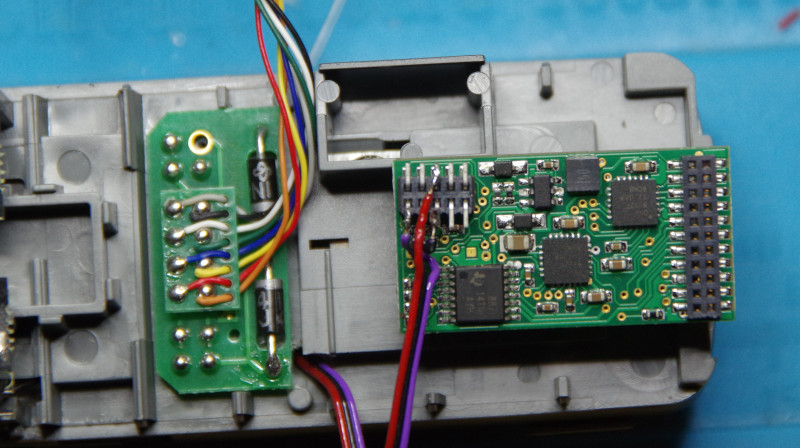
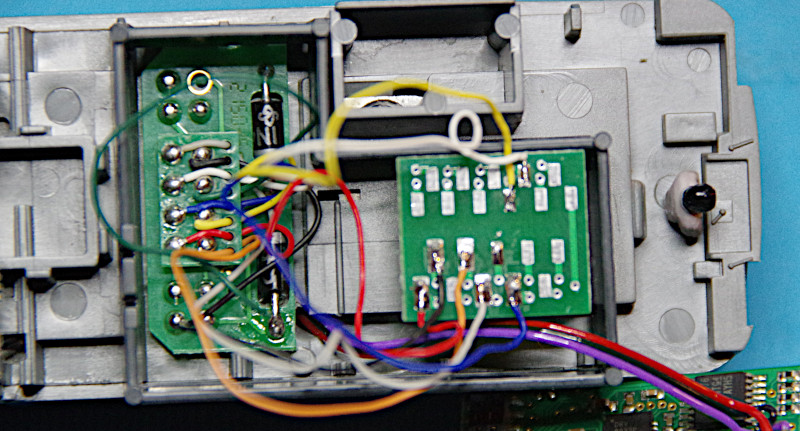
Next, the cables of the NEM652 adapter are soldered to the 21mtc adapter board. You should concentrate well and preferably check three times, because even a wrongly soldered wire can permanently damage the CTC module or the loco electronics. In the picture, you can still see the solder point where I had soldered the blue wire incorrectly - the CTC-Loco-Module 21mtc received a fatal 15 volts on a processor pin.
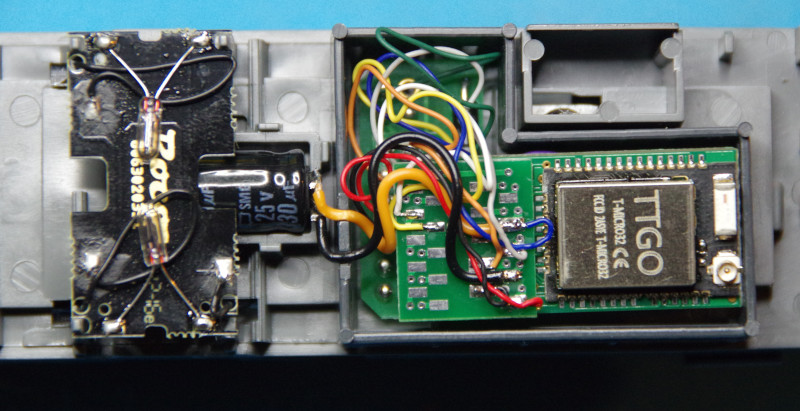
As almost always, this loco also lacks a sufficiently dimensioned support capacitor. There is not enough space for the usual 1000 uF capacitor, so a 330 uF one has to suffice (left in the picture). A small plastic web under the capacitor still had to be removed. In the picture, all cables are already neatly stowed, so that the housing can then be closed again: