IMPORTANT: Everything described here requires at least CTC-App Version 3.10 and Firmware 20200514!
Basic Functionality: Motor and Headlights
Since the CTC locomotive modules are preconfigured for direct connection of motor and lights, these must first be removed from the configuration. To do this, open the module configuration in the CTC-App (see User Manual Chapter 4).
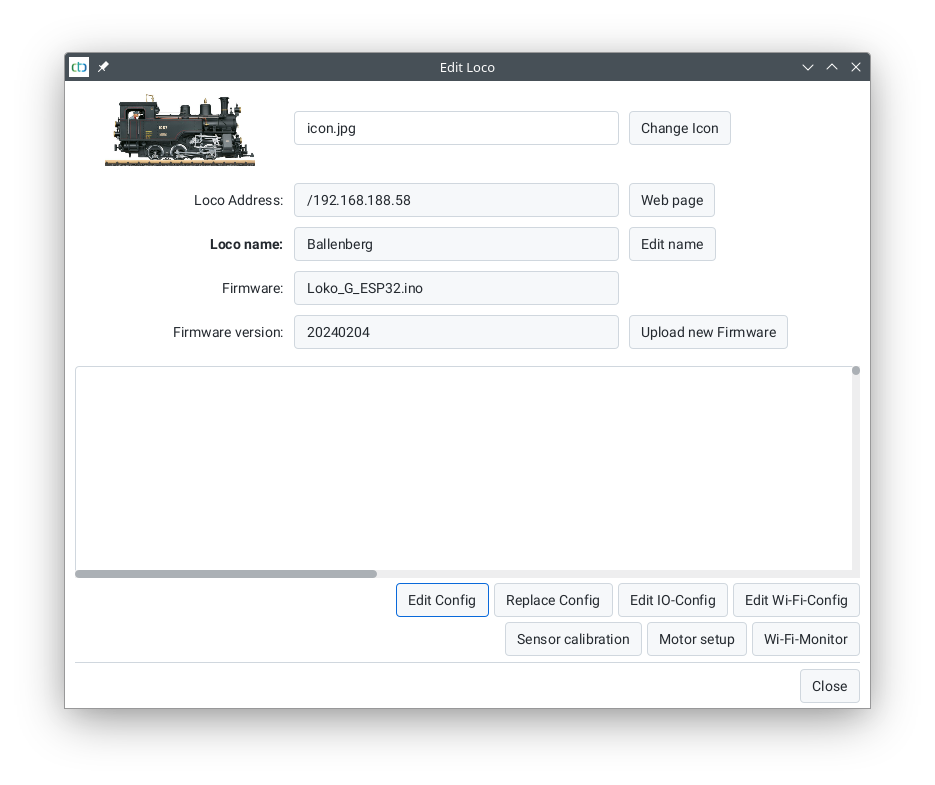
Click on the “Change Config” button to inform the CTC module about the functions of your digital decoder.
Remove all connected products there by selecting each line in the “Connected Products” list and then clicking the minus button to the right. After that, the dialog appears as follows:
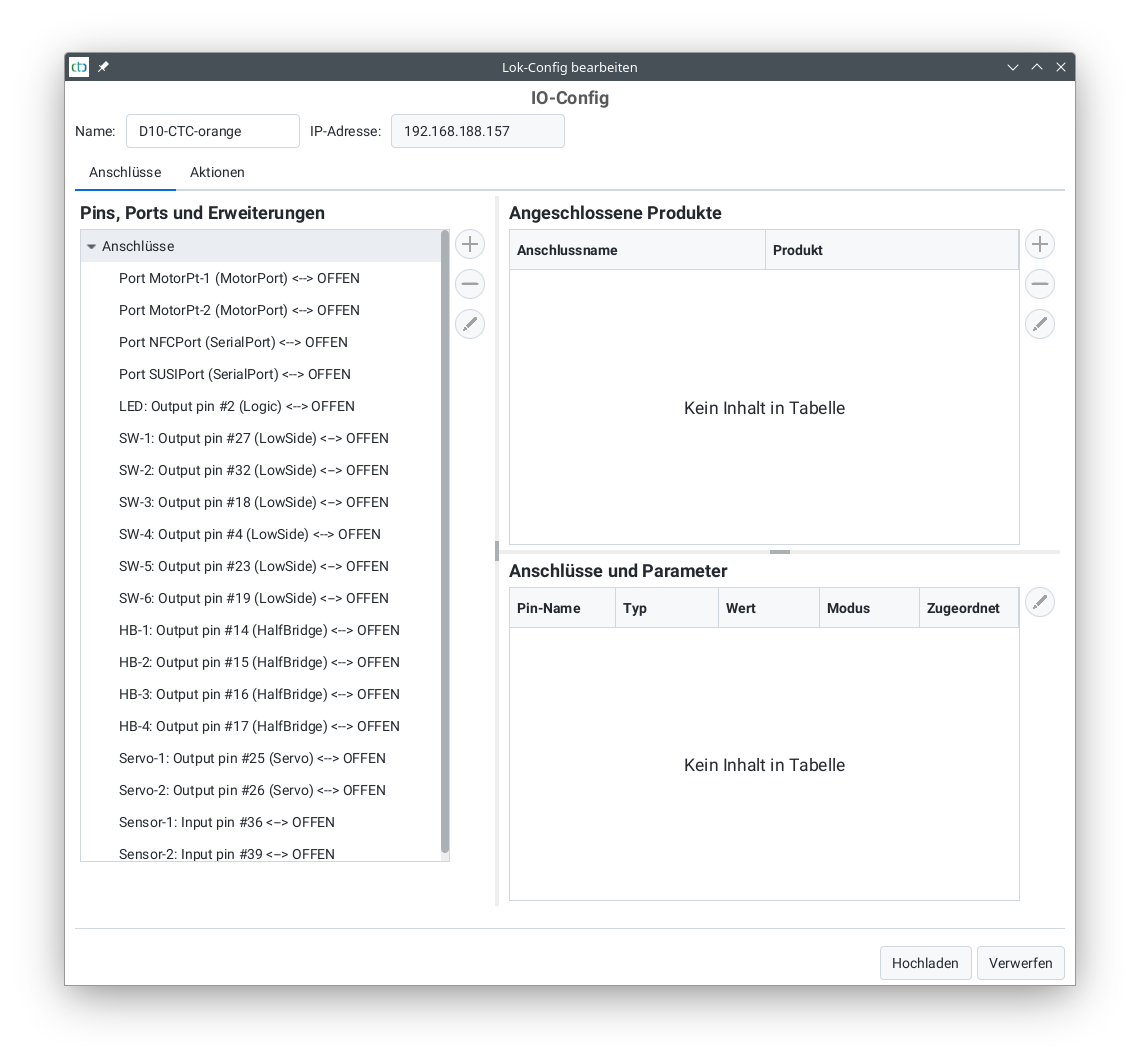
Then select the motor port to which you have connected the digital decoder:
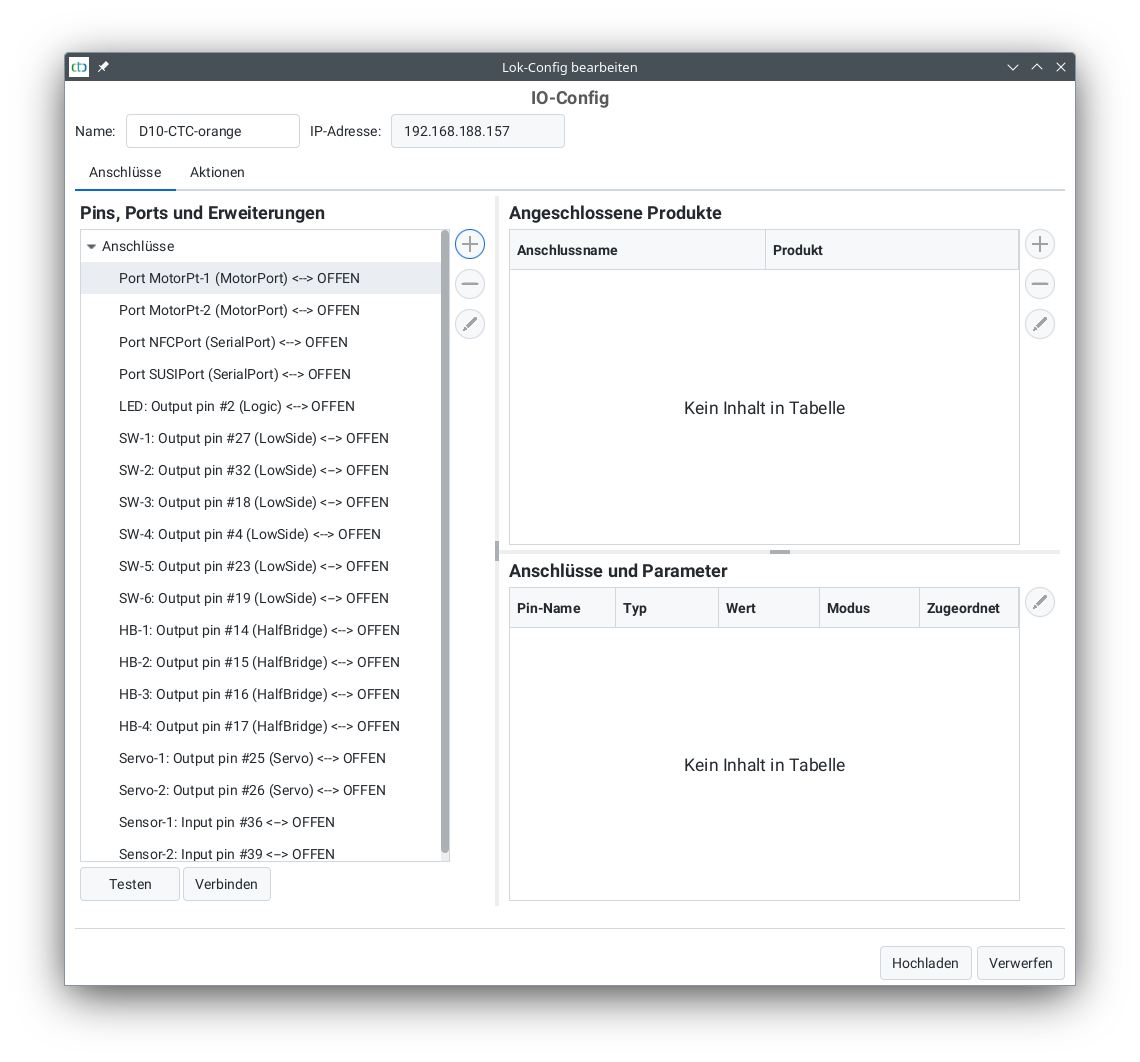
After clicking the plus button next to it, the following dialog opens:
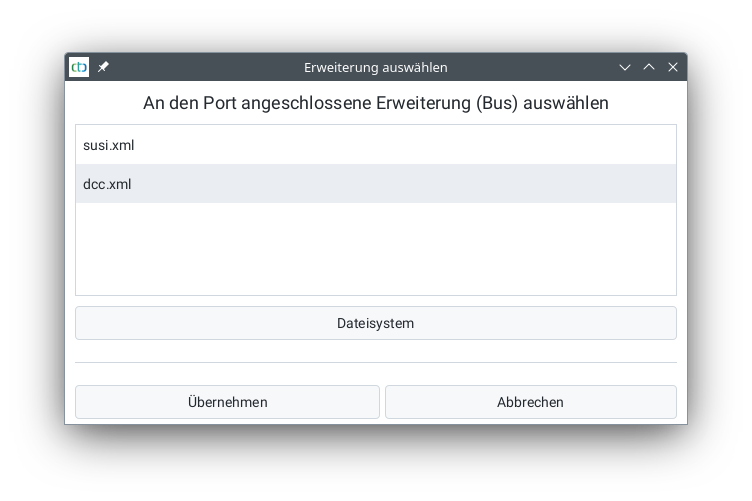
Select “DCC.xml” and click “Apply”. In the following dialog, assign a name for the extension (here “DCC”), enter the DCC address (for new locomotives this is 3), and select “DCC Locomotive” in the table:
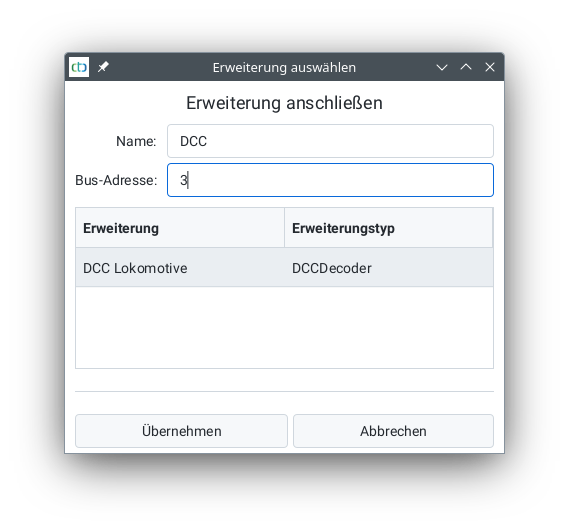
After clicking “Apply”, you can expand the motor port and see your added extension:
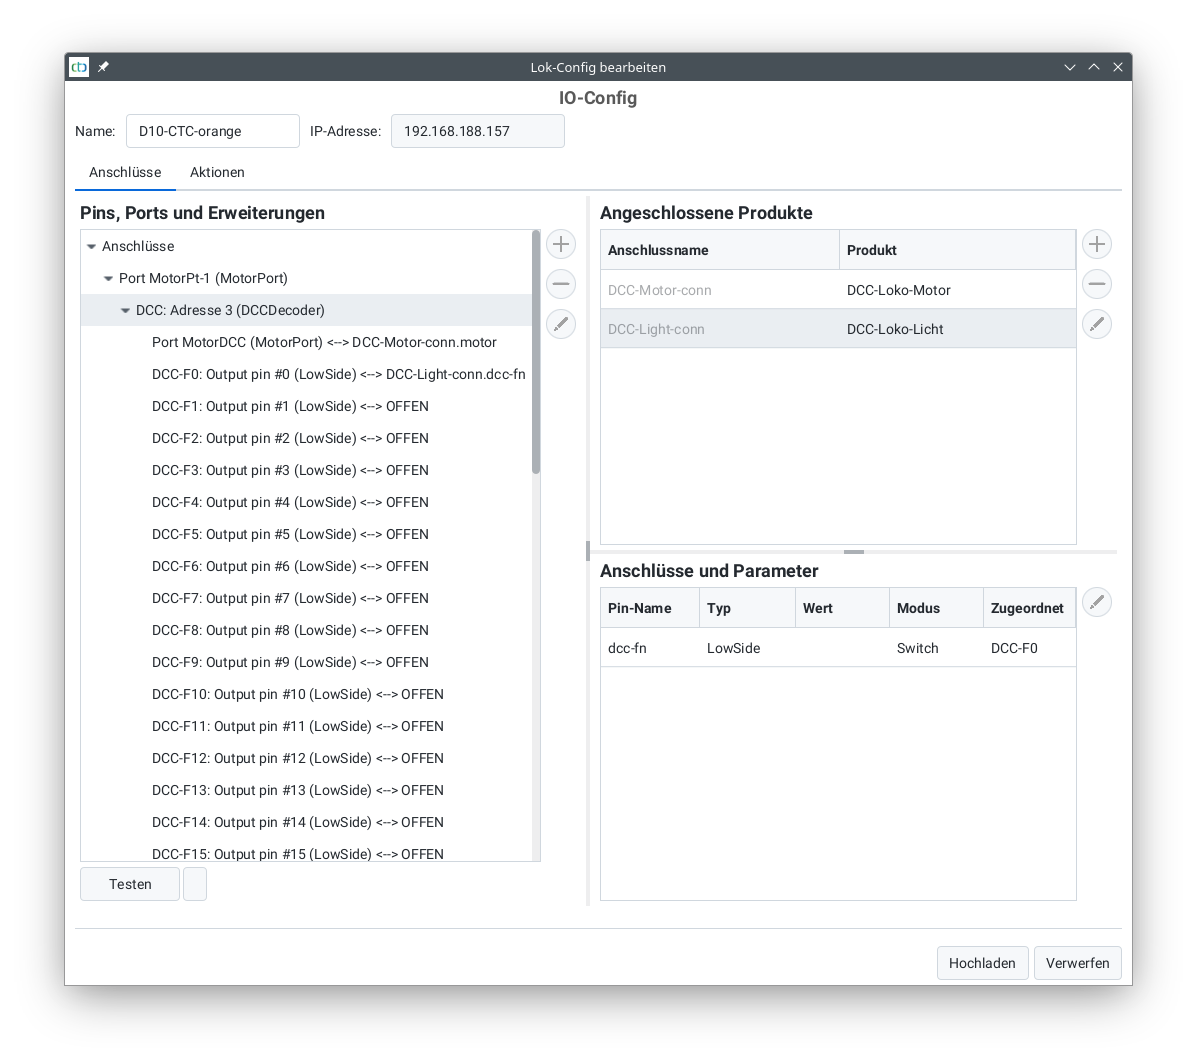
Now it’s worthwhile to press the “Upload” button for the first time, because only then can you try out the functions of the digital decoder using the test button. The motor and headlights are already correctly wired, meaning you can now switch to locomotive control and attempt a first test.
Configuring Sound
After completing the basic configuration, you can take care of the sound functions.
To do this, click again on “Change Config” and expand the motor port to which you have connected your digital decoder:
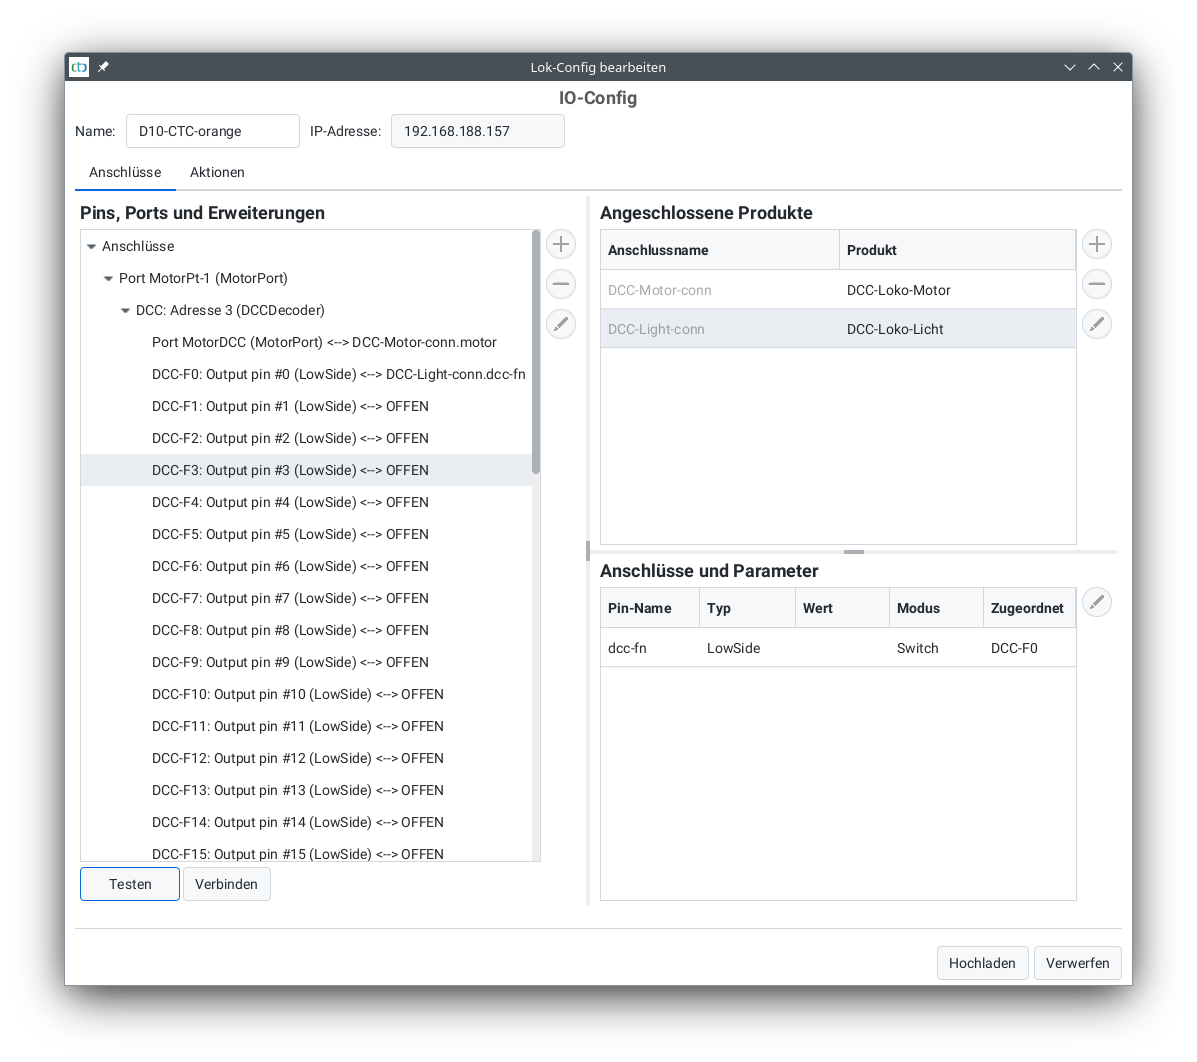
To check what is behind each function, select the function (in the image “DCC-F3”) and press “Test”.
If you want to make this function available in the locomotive control, then press the plus button next to “connected products”. Select the catalog “universell-loks.xml” and then “Locomotive Sound to LowSide” for sound or “Locomotive Light to LowSide” for light functions:
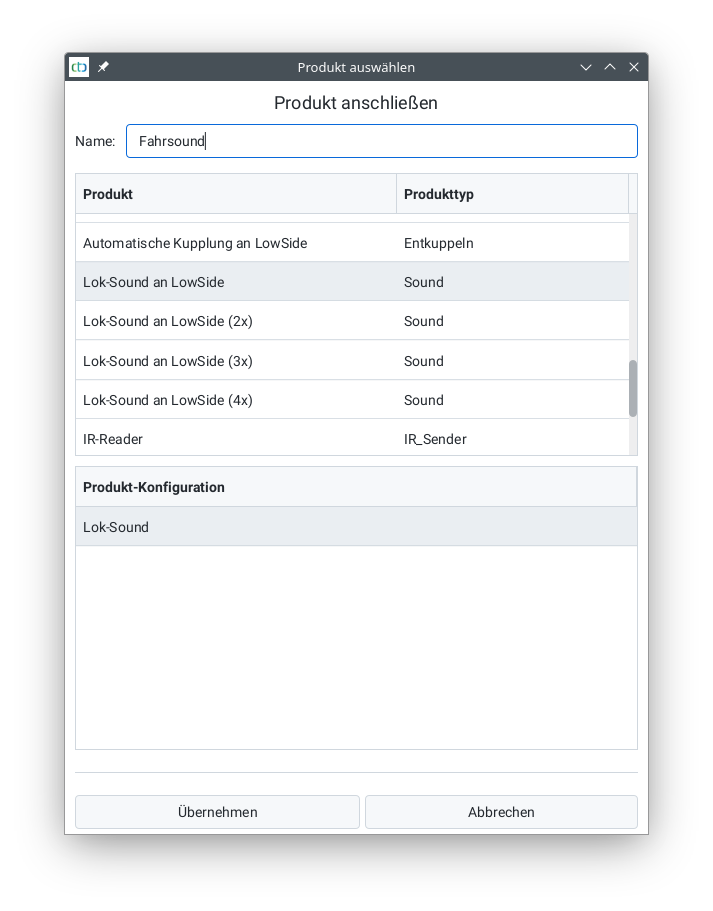
Then, at the bottom right, select the “soundPin” and click on the “Connect” button:
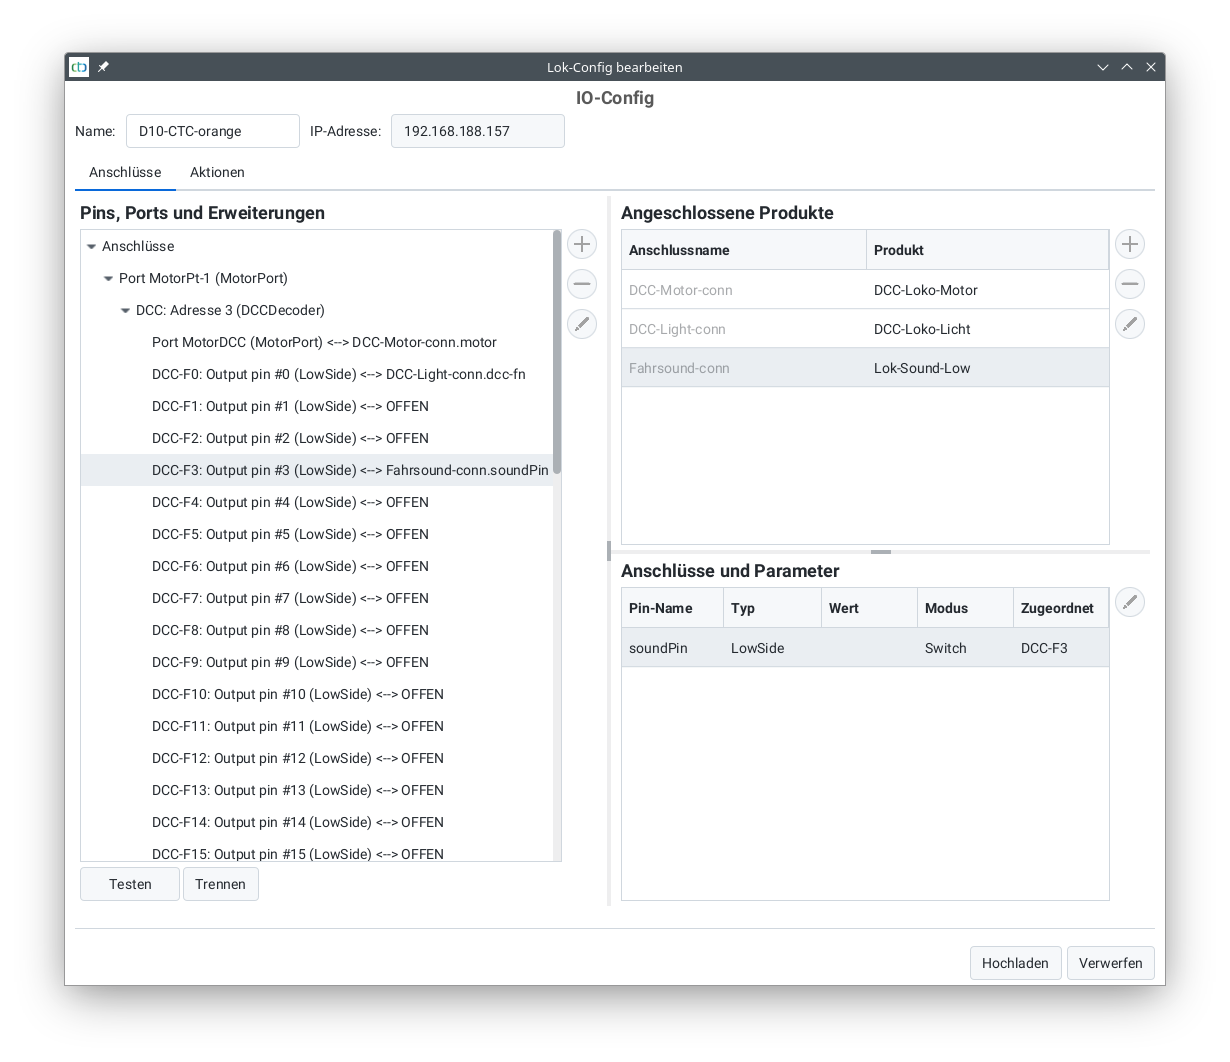
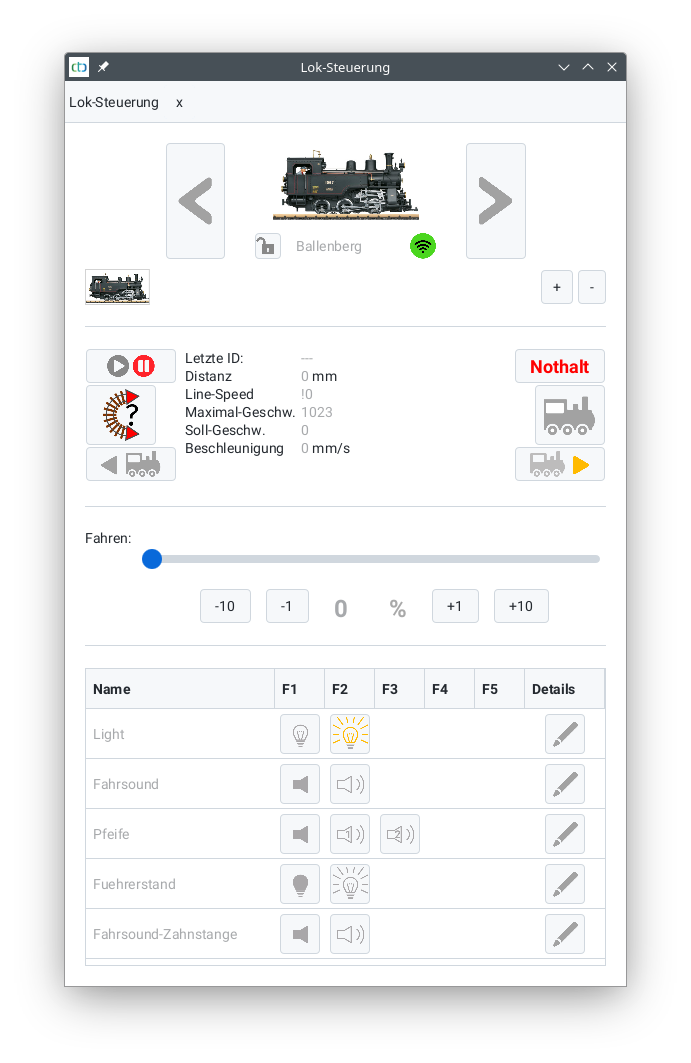
After all desired DCC functions are configured, the locomotive control looks like this:
