Creating and Assigning Balises
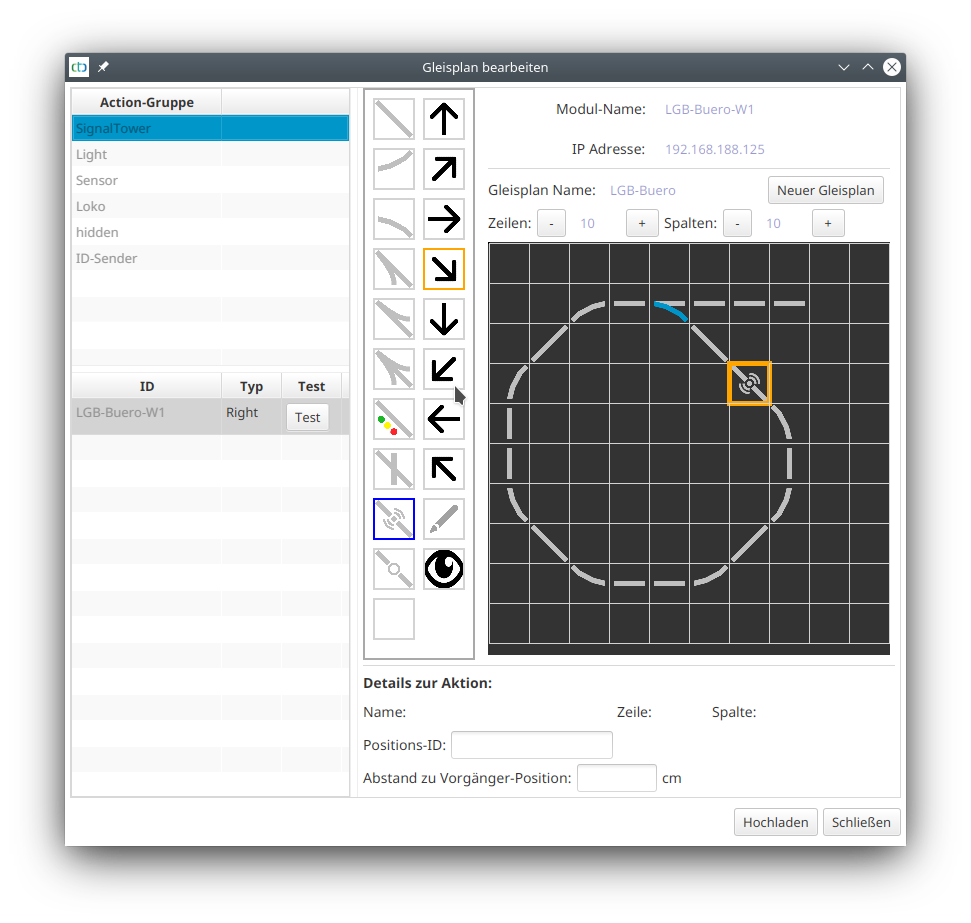
For Balises (ID transmitters), the symbol shown here is used:

Assigning Balises
In the case of NFC balises, we need to ensure that it has been read by a locomotive at least once before we proceed to the next step. Only then does it appear in the list of balises (ID transmitters) in the track diagram editor.
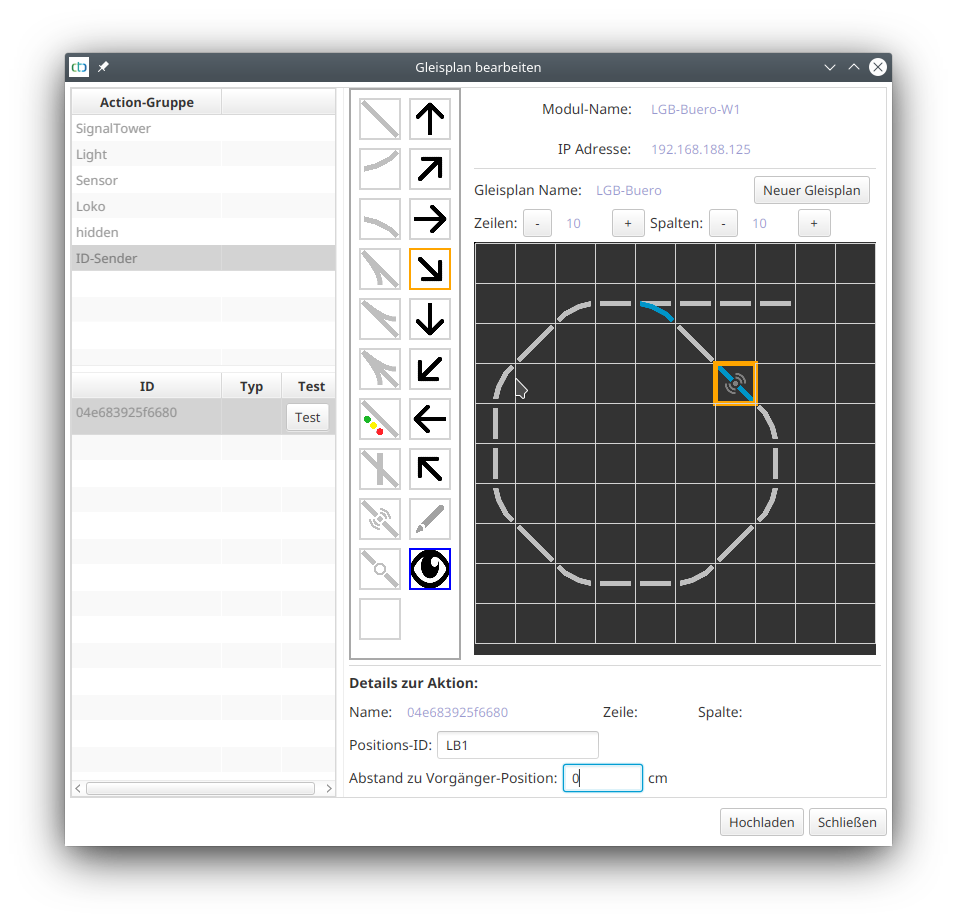
Now a balise can be assigned to the position in the track diagram. To do this, select the “Balise” (previously “ID transmitters”) action group in the table at the top left and click on the balise to be linked. This will activate the pencil symbol in the toolbar. Now click on the spot in the track plan where the balise is located:

In the case of an IR balise, you are now finished, as its configuration already took place during the configuration of the associated CTC module.
Configuring NFC Balise (NFC Tag)
If it’s a NFC balise, it needs to be configured. To do this, you need to input its Position-ID (3 characters) and the distance to the previous tag.
The following should be noted for the Position-ID:
- The first two characters name the track section to which the tag belongs.
- The third digit or number indicates the order of the tags in a clockwise direction.


