





In this example, a trigger is used to set a signal to red when the associated turnout closes the route.
The starting point for this example is a signal and a turnout configured using the product catalog. How this works is described in Chapter 4.1 "Config - Connecting Products" .
In the example, the semaphore signal should turn red when the turnout is set to straight.
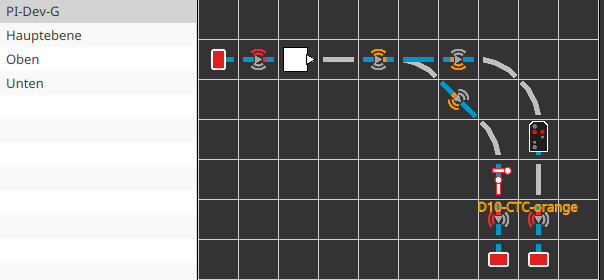
To do this, open the signal's config by right-clicking on the signal in the track plan. Then switch to the "Actions" tab and select the signal (here PI-Dev-G-Signal). Next, click the plus button to the right of "Products and Actions". The following dialog opens:
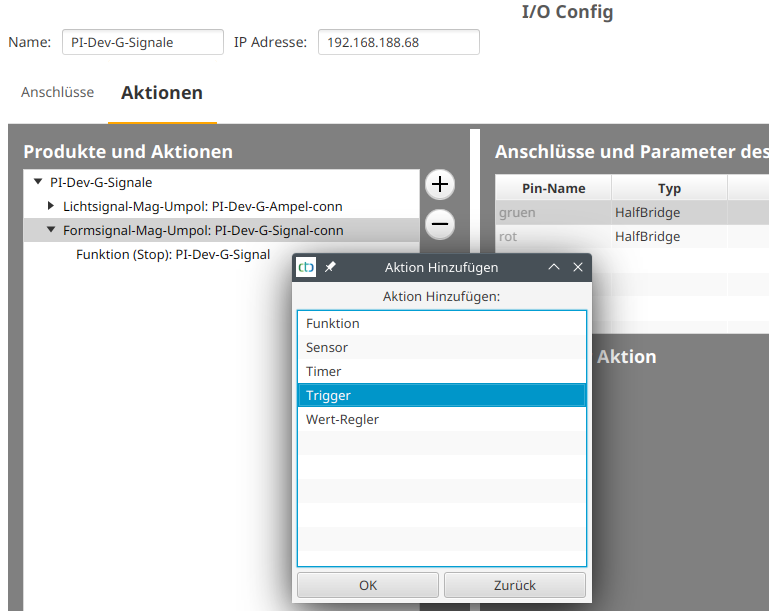
There, select "Trigger" and click "OK". Then click the "..." button next to the trigger's name to give it a suitable name:
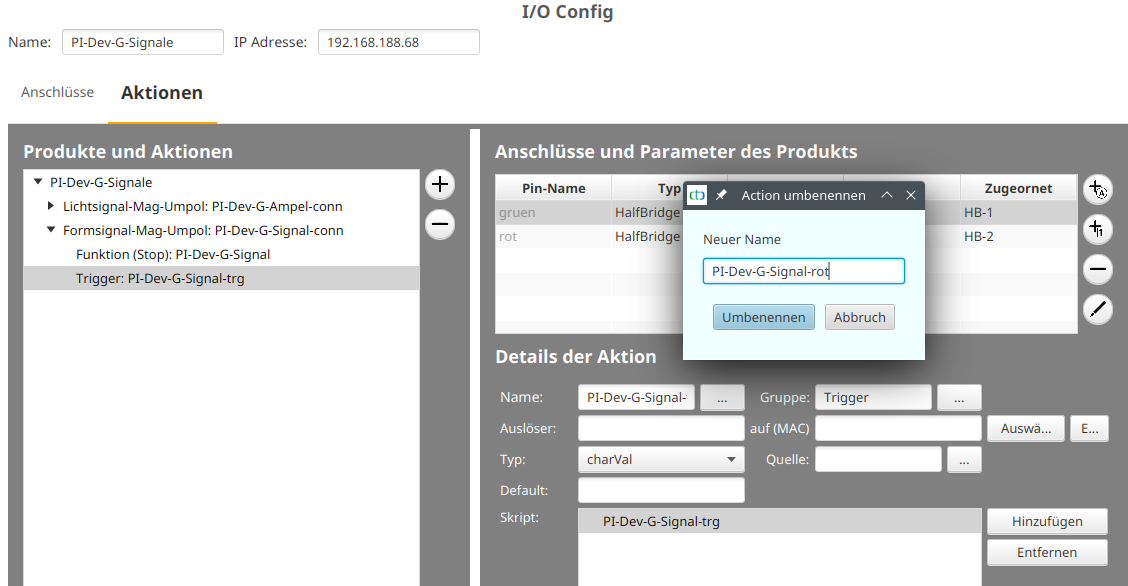
As the trigger, select the turnout (here PI-Dev-Weiche-G) by clicking the "Select" button. Normally, you will find turnouts in the group "SignalTower". However, in the example of our exhibition layout, the turnouts and signals of the G scale were moved to a separate group "PI-Dev-G":
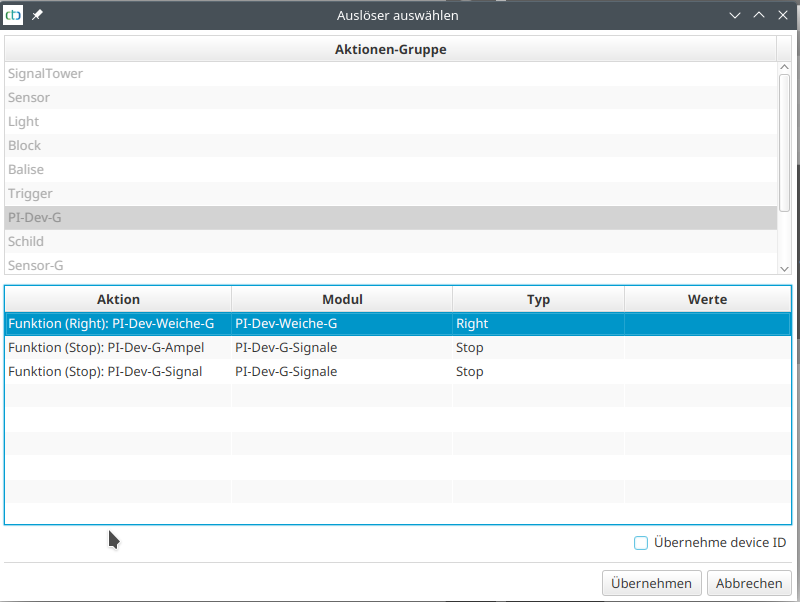
Select the turnout and then click "Apply". When applying, suitable scripts for all functions of the turnout are automatically created:
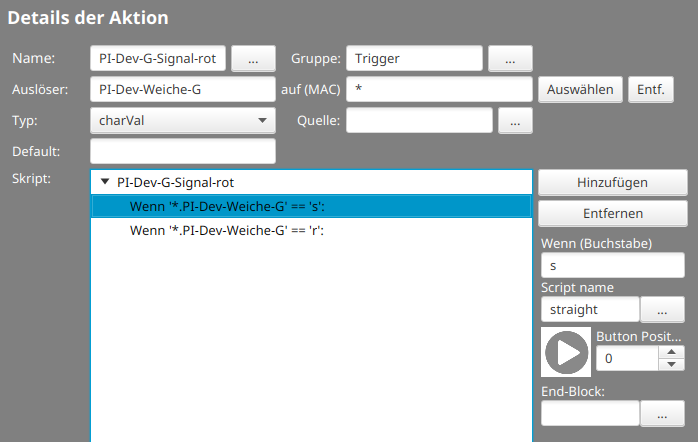
For the example, you now only need to call the signal's "Red" command for the turnout state "s" (straight). To do this, add the "call" command by selecting the "if" condition for "s" and then clicking "Add":
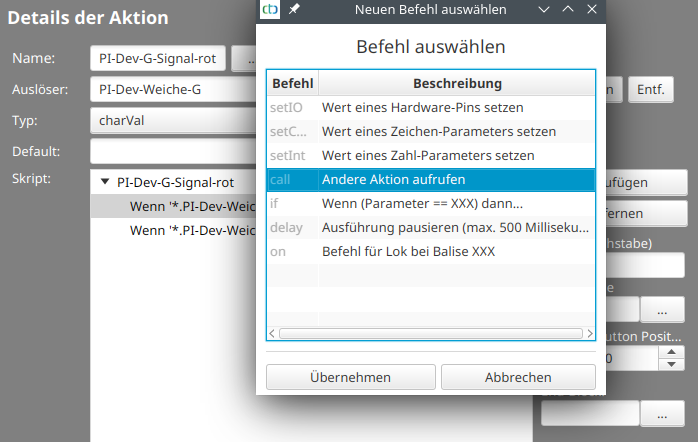
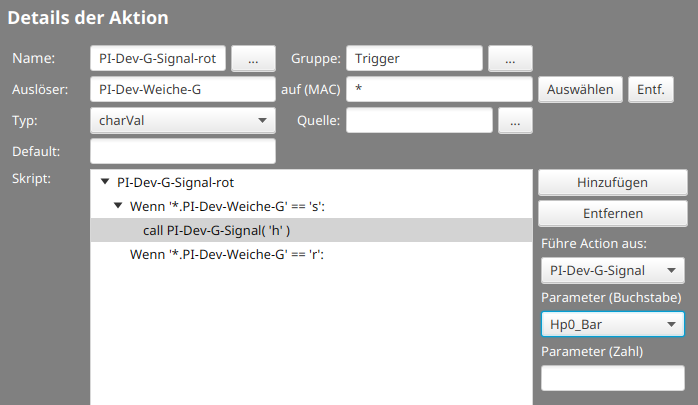
Select "call" and click "Apply". Then, to the right of the script area, select the action (here PI-Dev-G-Signal) and then the parameter for the action (here "Hp0_Bar" for semaphore signal red):
Finally, click "Upload" at the top to save the changed config in the CTC module.
Note: Since the garden railway turnout in the example determines its position using sensors, the signal also turns red when the turnout is manually switched. See the article "LGB Turnout with Position Sensor" .