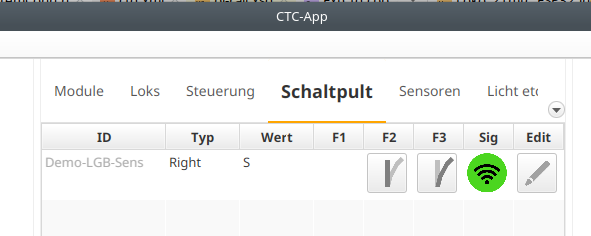





Compared to classic digital decoders, with CTC you can already get quite close to the desired effect of seeing in the app how a turnout is actually positioned without any special measures.
This is achieved by the CTC app displaying the state based on feedback from the turnout, not just that it has sent the command.
What remains hidden from the CTC app, however, is if the turnout is mechanically blocked or moved manually.
At least for LGB turnouts, there is a perfect solution that I would like to present to you in this article.
Under article number 12070, LGB offers an additional switch that plugs onto the turnout drive. It contains two microswitches that are actuated by the turnout lever. Since the additional switch is connected to the turnout tongue without any further spring, it can reliably indicate its position.
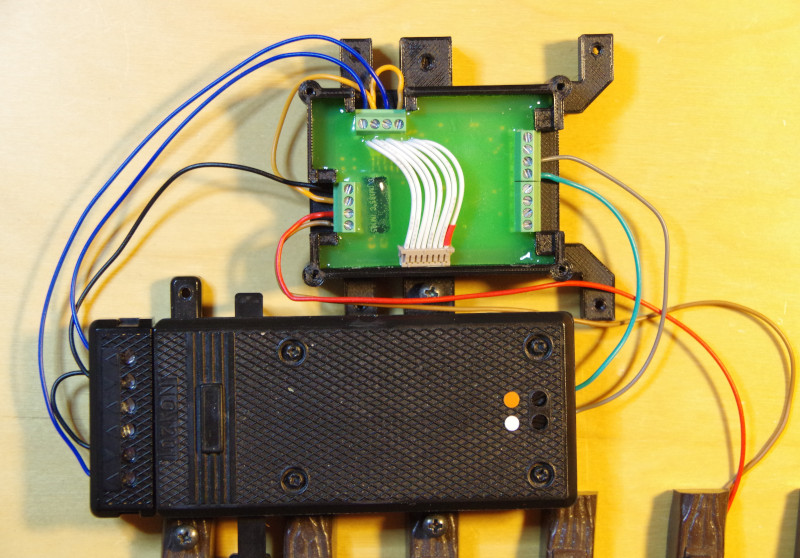
Compared to the usual connection of an LGB turnout to the CTC-Turnout-Module-G (red, brown, green, gray), we also connect:
- GND (black) to the two middle terminals of the LGB additional switch.
- VBB (orange) to the SENS-1 and SENS-2 terminals of the CTC-Turnout-Module-G.
- The two outer terminals of the LGB additional switch (blue) to the SENS-1-GND and SENS-2-GND terminals of the CTC-Turnout-Module-G.
Note: The photo still shows the older CTC-Turnout-Module-G:
CTC module to connect to WiFi
If the CTC-Turnout-Module is not yet connected to the model railway WiFi, you must do this first. You can find the instructions for this in the operating instructions in Chapter 3.1 "Connecting modules to WiFi" .
Open configuration
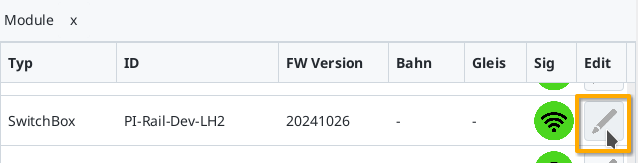
A connected CTC-Turnout-Module can be found under its name in the module list in the CTC app. There, click on the pencil icon to open the "signal tower configuration".
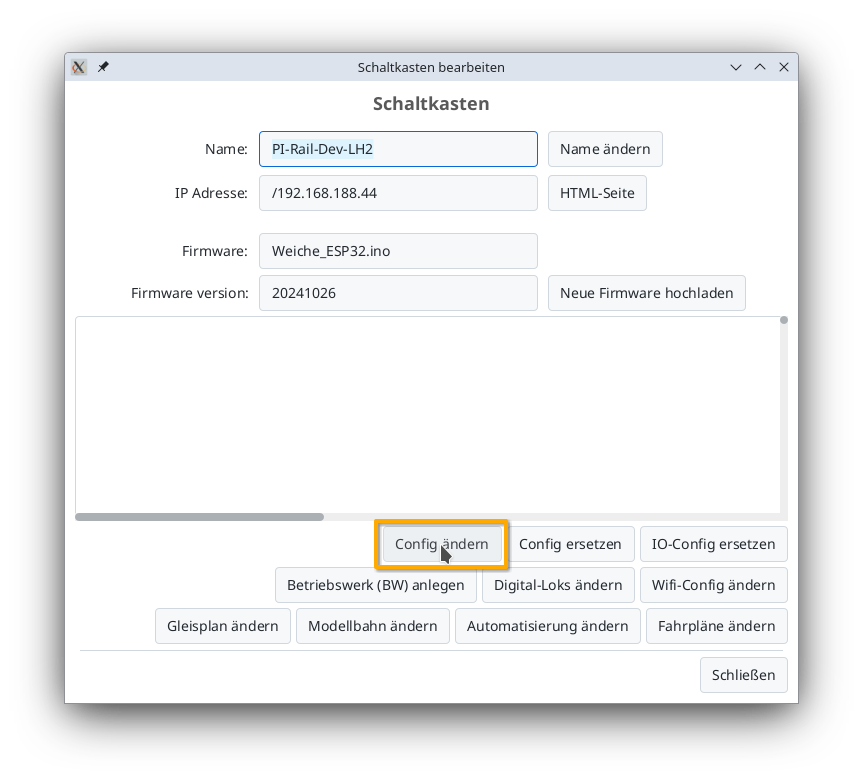
There, click on the "Change config" button:
Add product
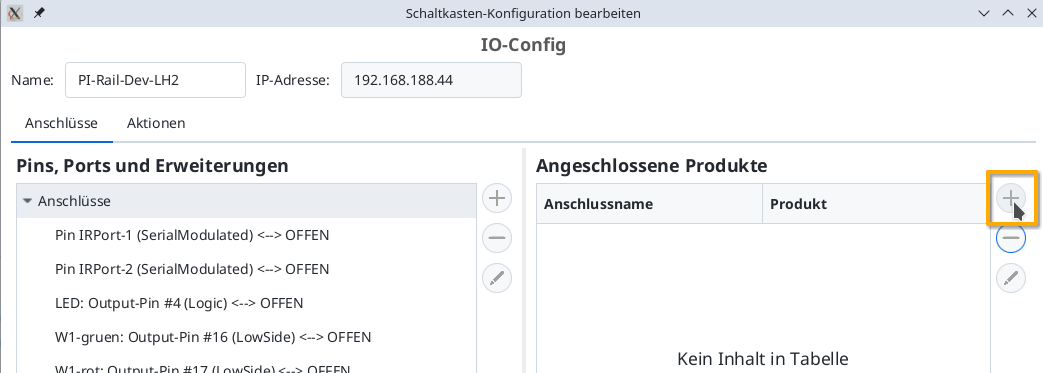
In the config dialog, click on the plus button to the right of "Connected products" to select what product you have connected:
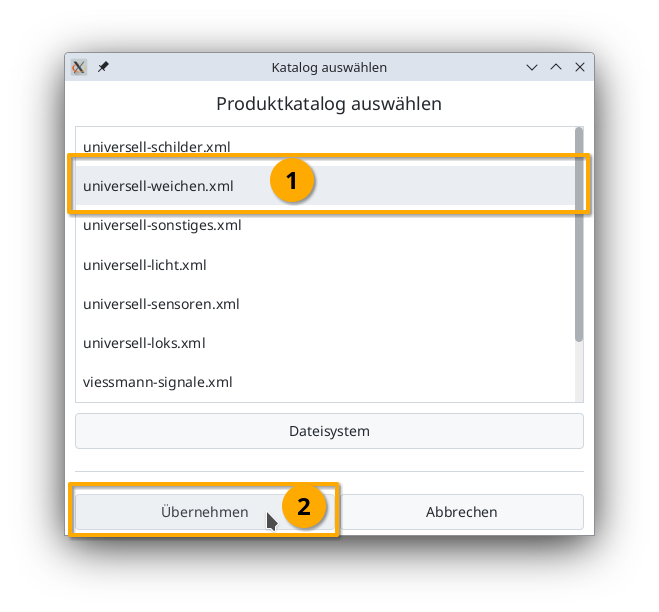
Select the product catalog "universal-turnouts" and then click "Apply":
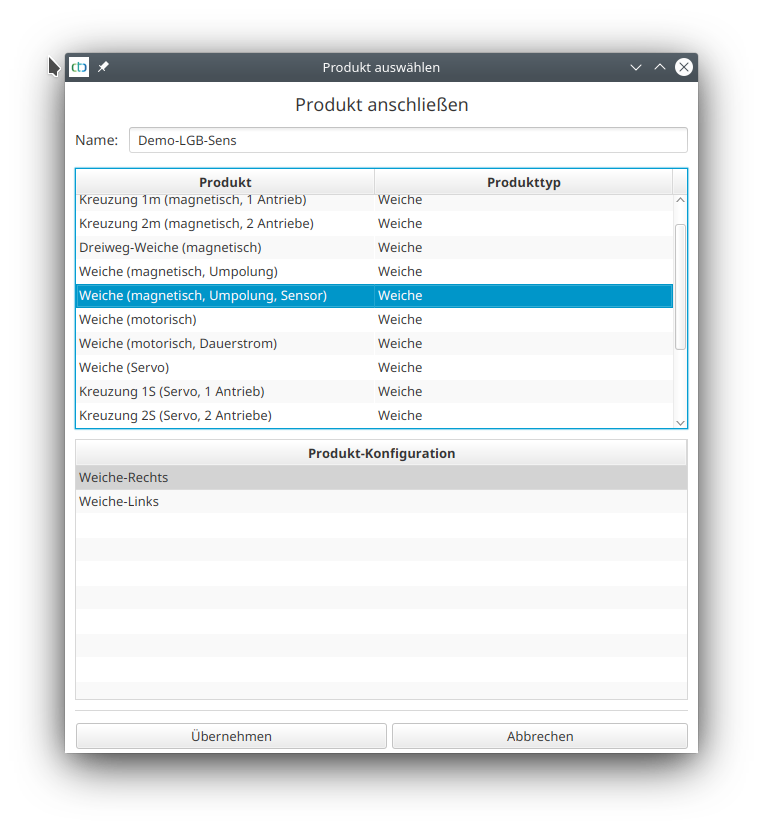
Give your turnout a meaningful name and select the appropriate product and product configuration. Then click "Apply":
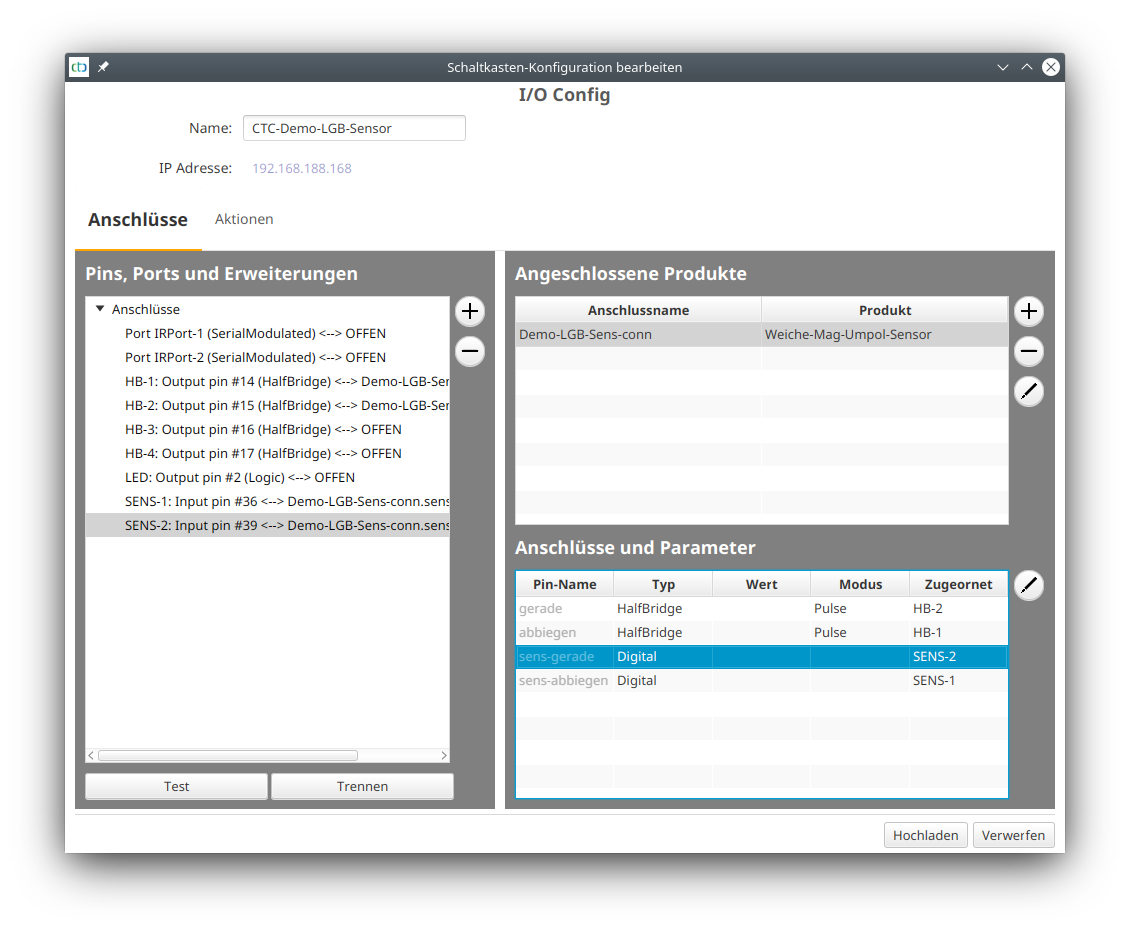
Then assign the product's terminals and you will get the following configuration:
Upload configuration
Once all pins are connected, you can click the "Upload" button to save the changes to the config on the CTC-Turnout-Module:
The CTC-Turnout-Module will restart.
Turnout in the control panel
After a few seconds, the newly configured turnout appears in the control panel:
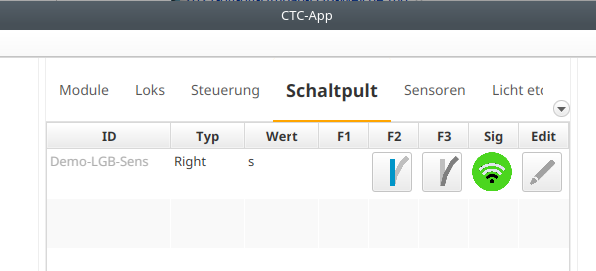
The blue marking for the position of the turnout now shows the actual position, as determined by the two sensors contained in the CTC-Turnout-Module-G. This can be easily tested by adjusting the turnout with your finger instead of via the CTC app.
If the turnout can only partially switch due to, for example, a small stone and gets stuck halfway, this can be seen by the fact that neither of the two positions is marked in blue: