A driving route establishes a connection between two blocks. To achieve this, all intervening turnouts are set accordingly in the corresponding script.
Configuring Routes
A route is always created at the block where it begins.
For this, select a block in the “Edit Automation” dialog and click on the plus button.
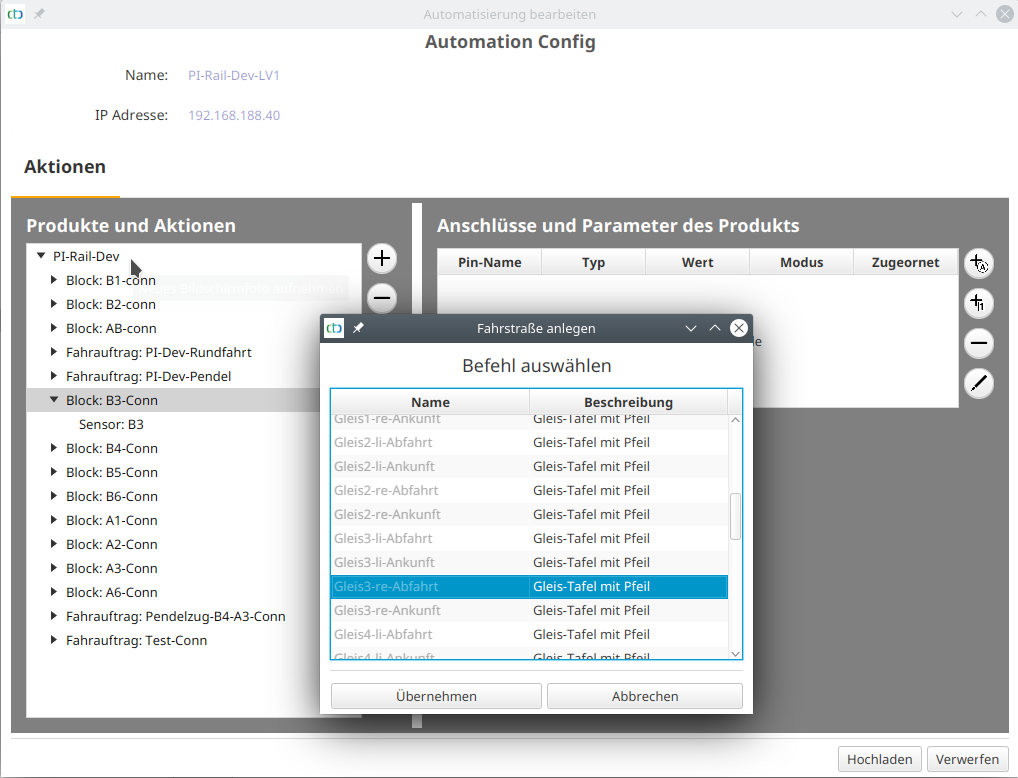
The newly created route group contains a script for “Change to off” (no route active) and a second script for the new route. Select the second route (script) and then click on the button “…” under “End Block” to select the end of the route:
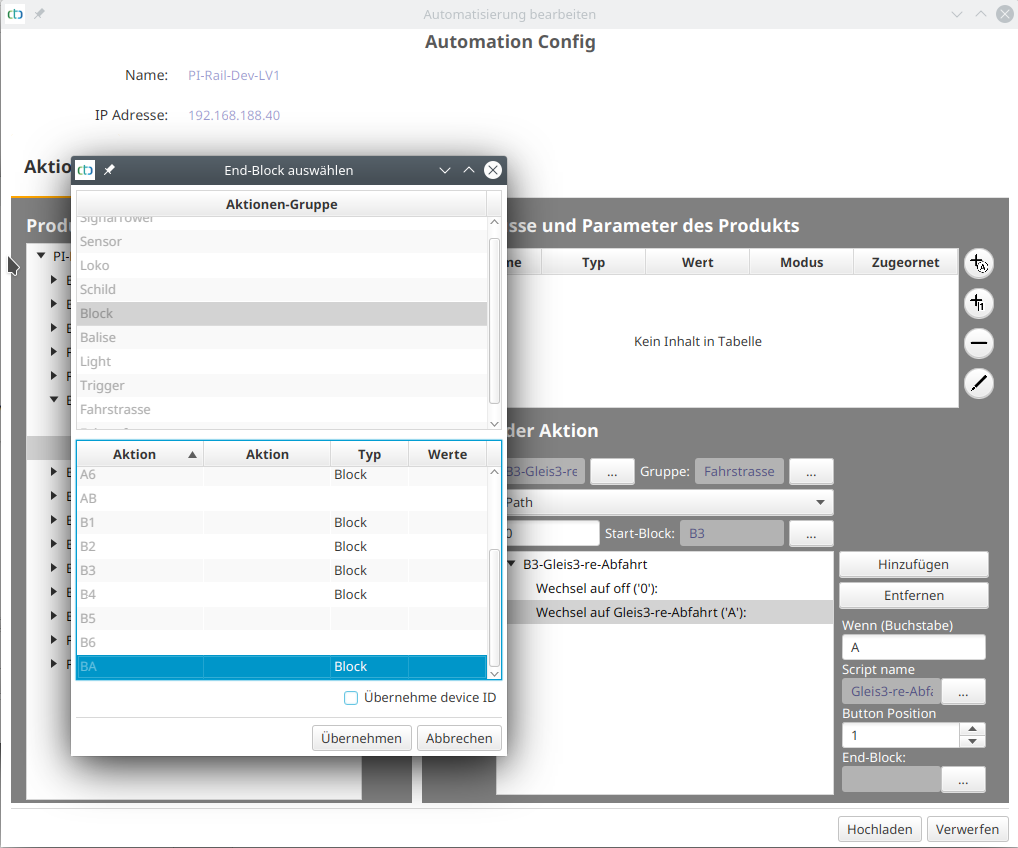
Then click on the “Add” button to determine the first switching command (“call”) of the route:
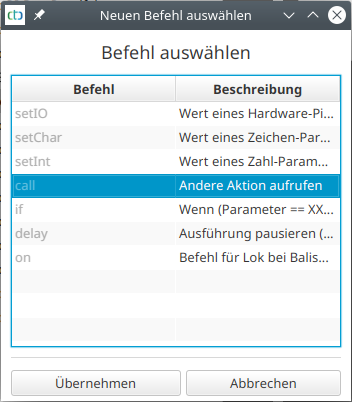
After clicking on “Apply”, the script window switches to the newly created switching command. Then click on the button “…” under “Perform Action” to determine what should be switched.
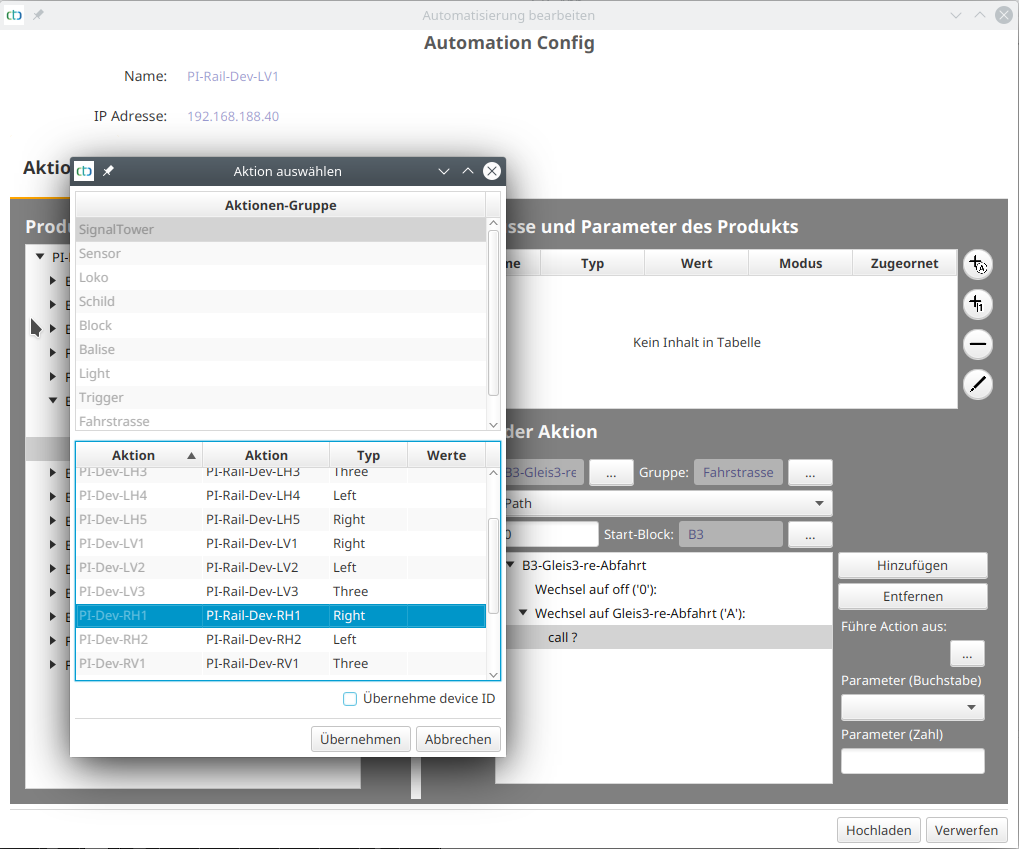
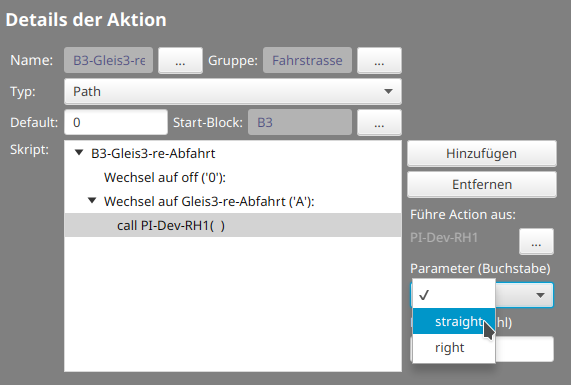
The selection list under “Parameter” is automatically populated with the values allowed by the chosen action. For the turnout in the example, “straight” (straight) is now selected:
After adding a second switching command, the route looks as follows:
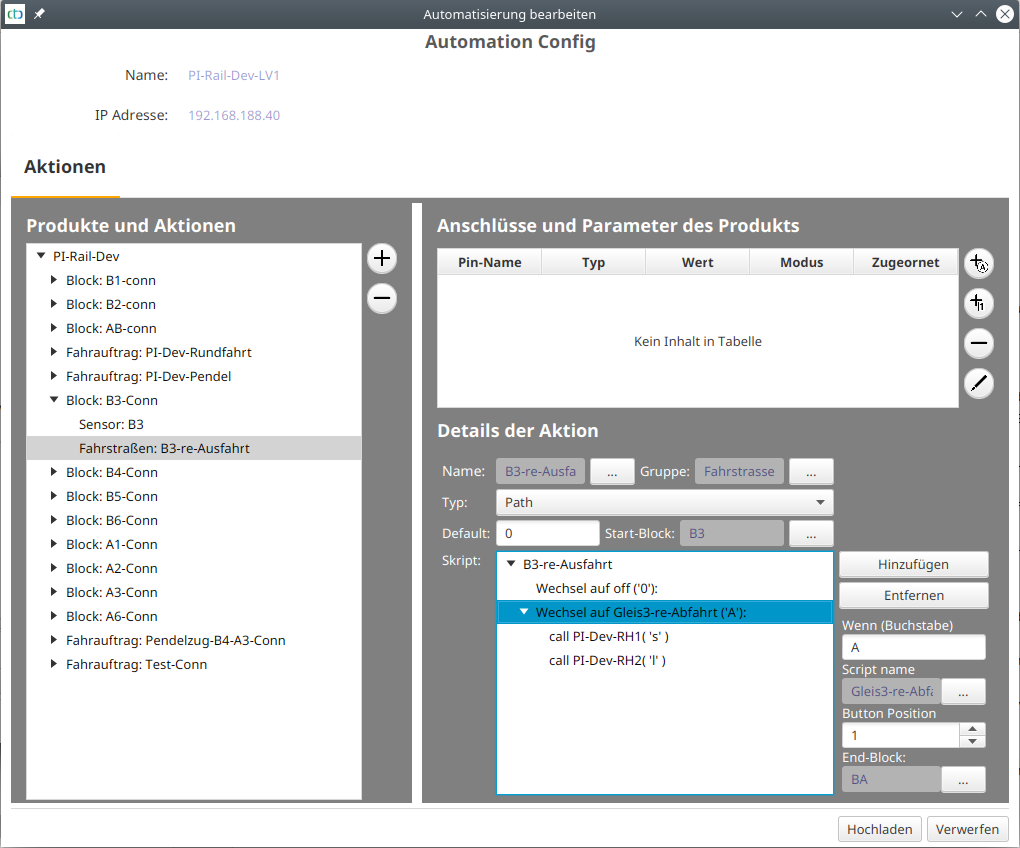
Note: Details on editing scripts can be found in the chapter “Config - Edit Script”.
More Routes
You can add more routes either as a new route group in the respective block or as a new script under an already created route group.
In this context, it is advisable to create all outbound routes from one block in one direction as scripts in a shared route group. For example, for the entrance to the three tracks of the “B” station:
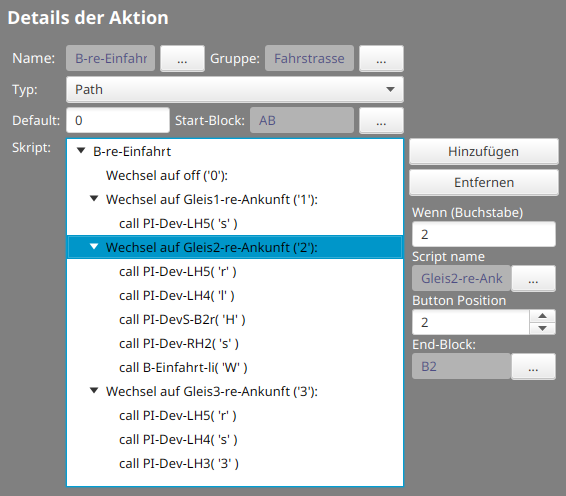
The corresponding line in the control panel then looks like this:


